TBC Photogrammetry Module Setup v5.8 and later
For a detailed overview of the TBC products please review the webinar on the new v5.8 version.
Recent updates to TBC have opened the ability to process PPK images in TBC. The process has also changed so that the JXL file is no longer needed and users can just import the geotagged images folder.
The photos must first be geotagged in WingtraHub before processing in TBC.
- Once you have created a project, navigate to the Photogrammetry tab.
- The workflow operates from left to right starting with Change Coordinate System. The coordinate system can be set manually or by importing a JOB/JXL file into TBC.
- The merge flight missions can be skipped if there is only 1 mission folder. If you have multiple Output folders with images you can import each one individually and then merge the mission using the command. Or you could combine all of the photos from the flights into 1 folder before importing.
- Import the photos using the Import UAS Data command in the setup section. The focal length and pixel size will automatically be filled once you select the location of the photos. The height above ground field needs to be entered manually before selecting import.
- If the images are high accuracy, the software will automatically identify the mission as PPK. If this is the case, the GNSS section can be skipped as it isn't relevant for the Wingtra system. The PPK processing occurs in WingtraHub beforehand.
- The mission is now ready to be adjusted. Click the Adjust Photo Stations to perform the relative adjustment which will begin the initial tie point matching + aerial triangulation.
- Once the adjustment is done a report is created which gives an overview on the processing. The next optional step is to add ground control points or checkpoints to the mission with the Adjust Photo Stations with GCPs command.
- Under the absolute adjustment tab select the ground point then hit the + button to add it to the control point list. It will then bring up the photos which contain the control point for selection of the target. Try to select at least 3 in each photo before performing the adjustment.
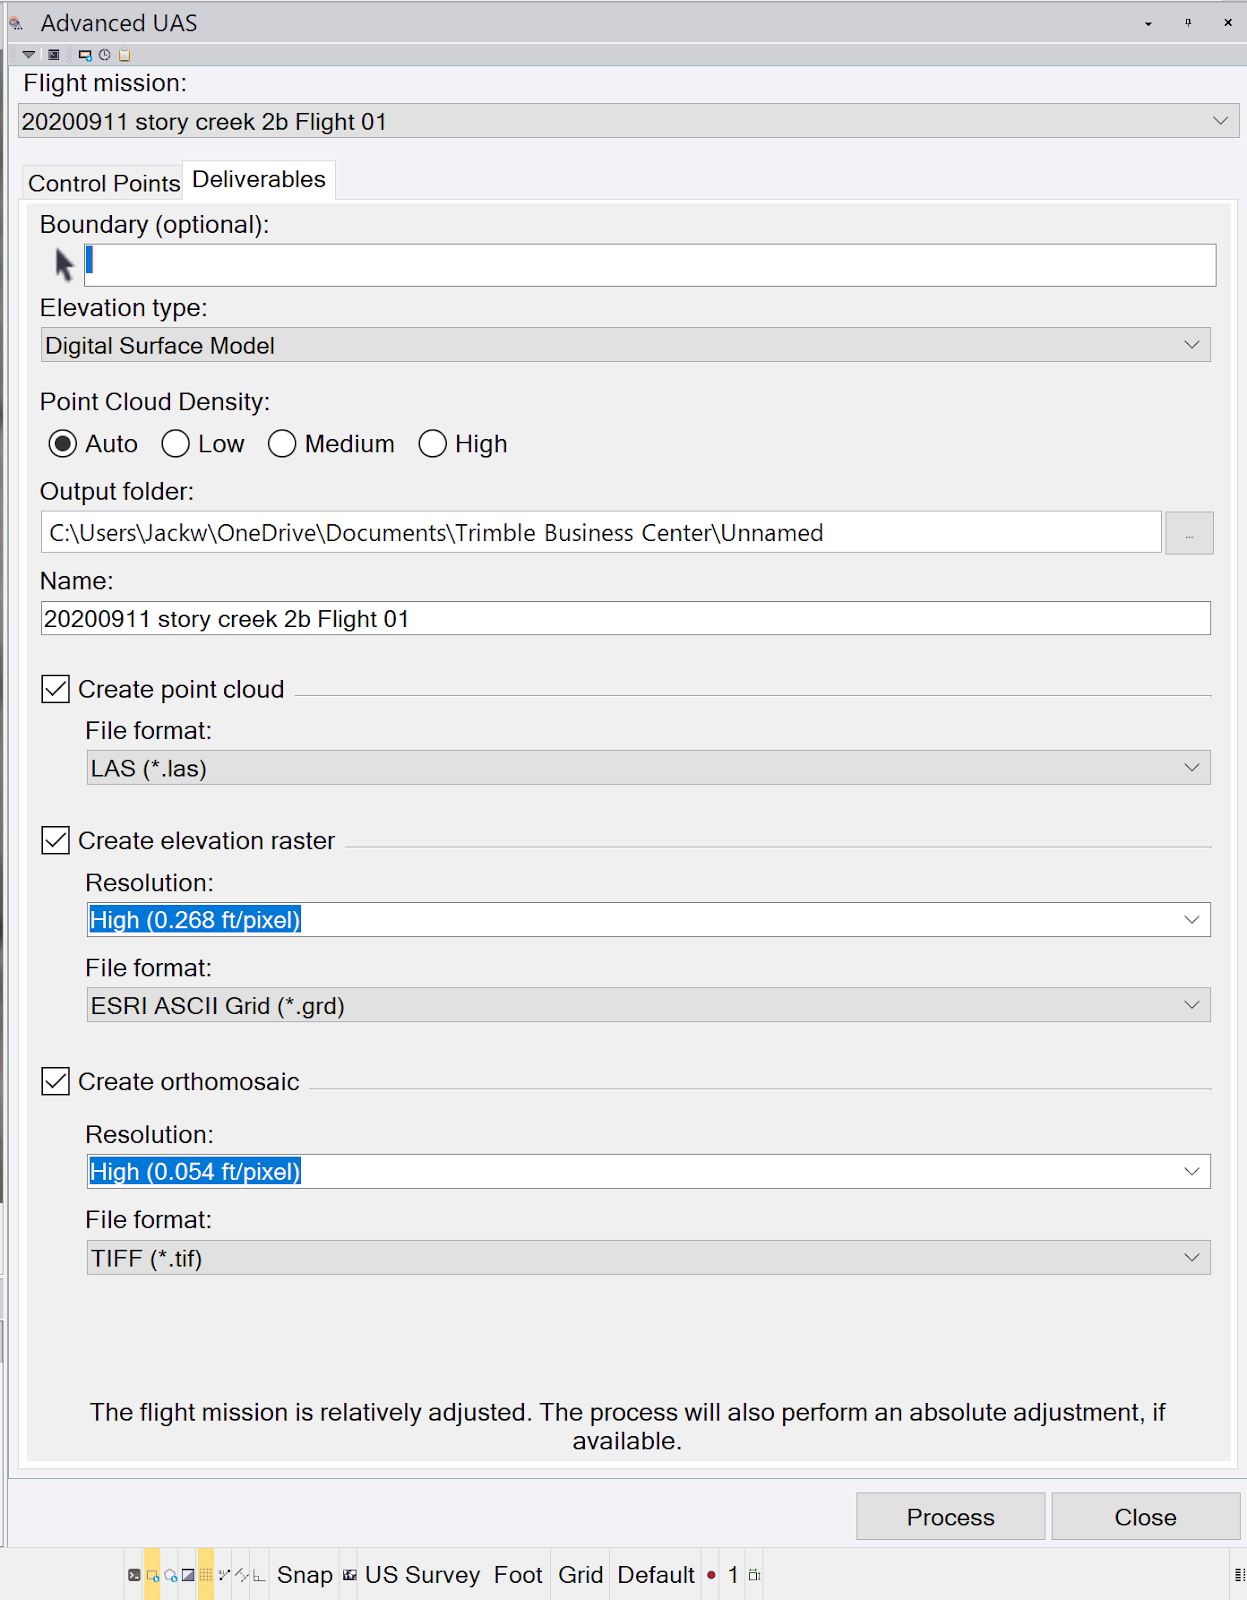
- The last step in the process is to Create Deliverables to specify the desired outputs.
TBC Photogrammetry Module Setup v5.7 and earlier (Non-PPK Only)
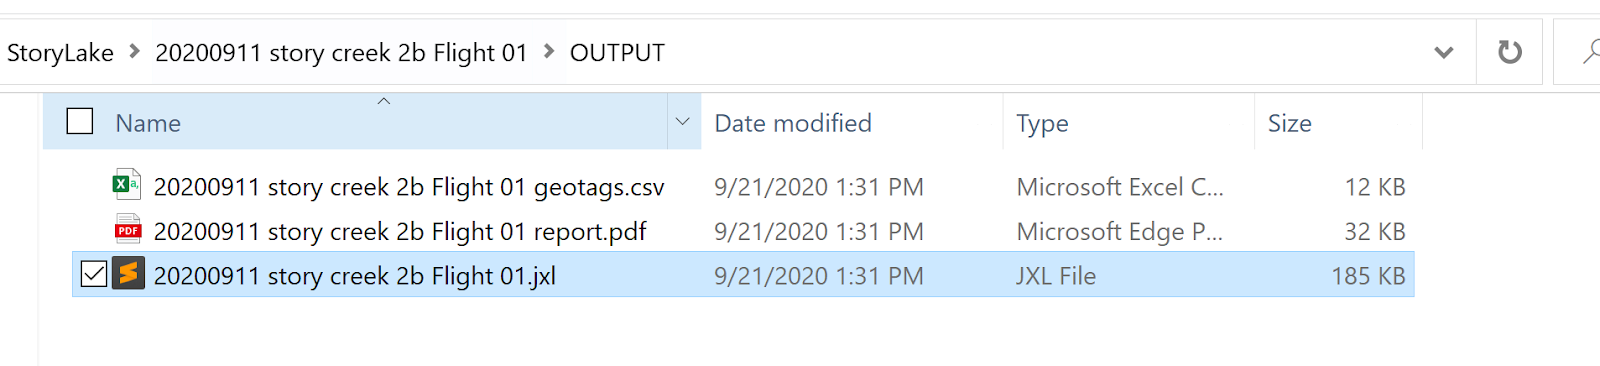
- Starting with WingtraHub make sure you have the JXL option checked then run through the geotagging process. The JXL file will be produced with both PPK and Non-PPK geotags then the file will be in the OUTPUT folder.
- Drag the JXL file into an open TBC project. You must keep the same file structure and naming convention if you copied the data from the SD card to a different location. Otherwise, the images will not load in TBC.
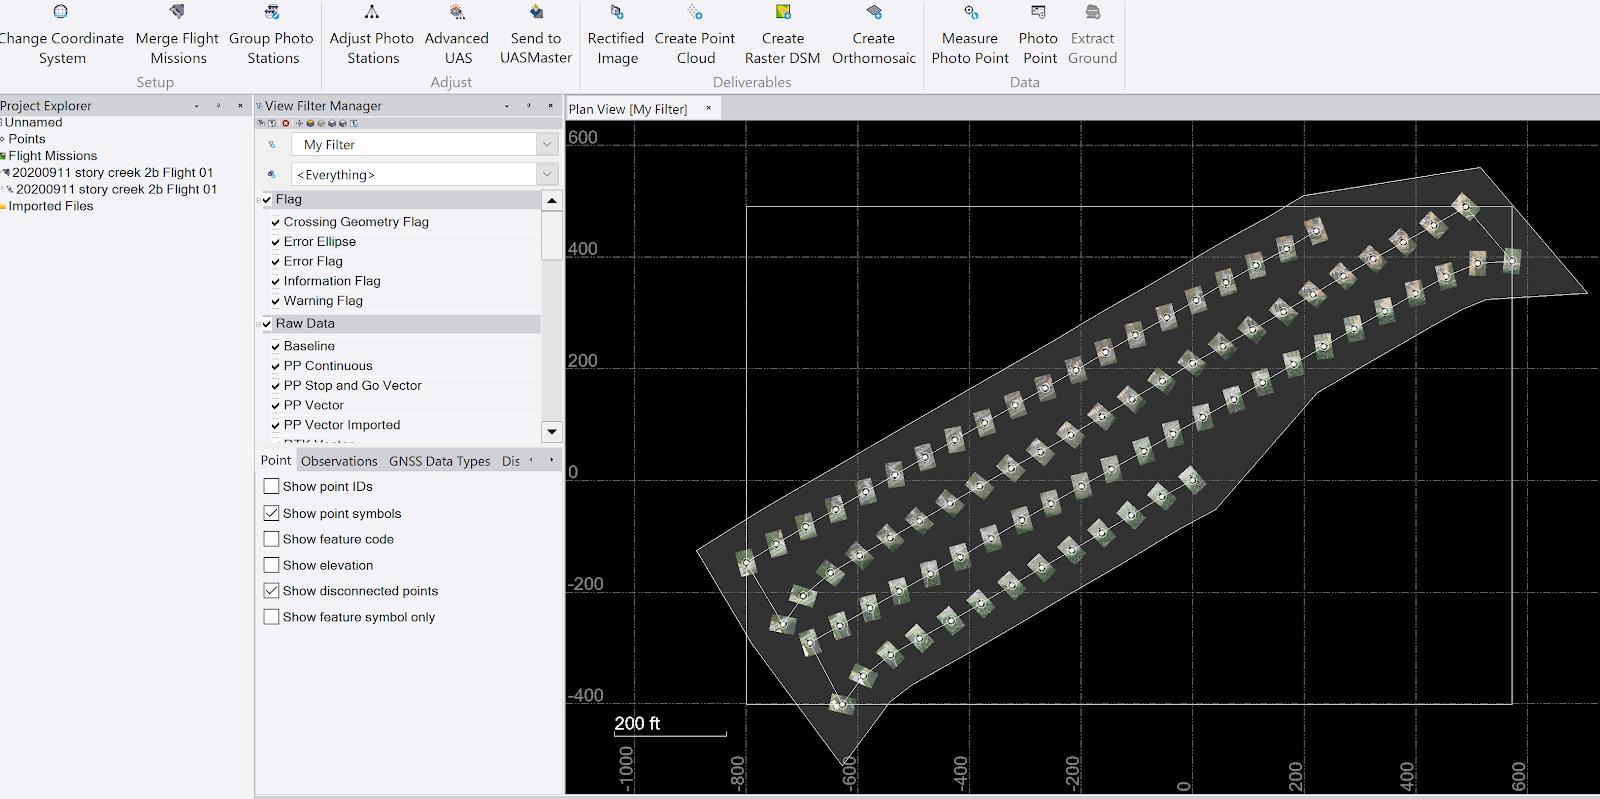
- It will load the images and Flightplan project in TBC. Under the Photogrammetry section, the workflow tends to flow from left to right in order.
- The coordinate system should be established before importing the project or load in the calibration from the .JOB or .DC file. If it not set under the Photogrammetry tab click “Change Coordinate System.”
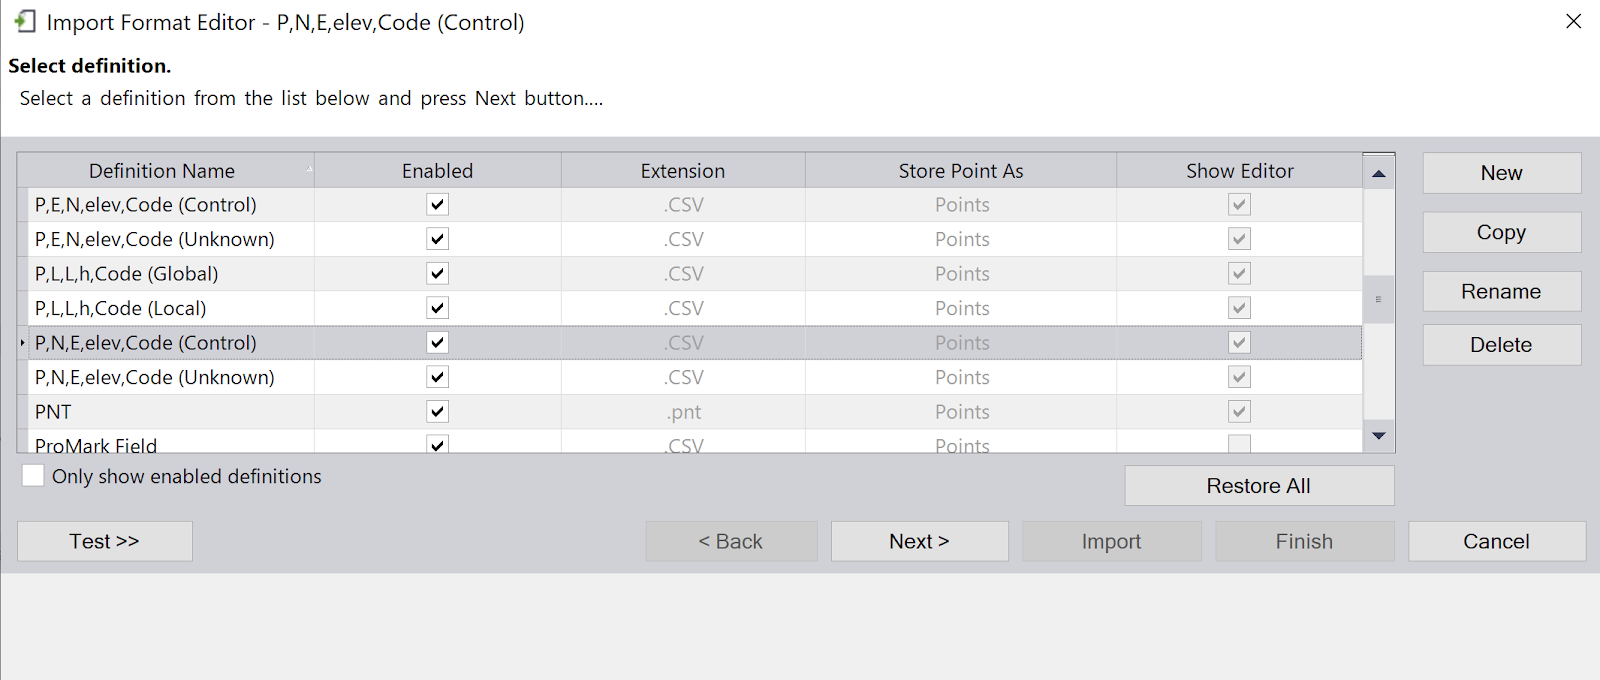
- Drag the ground control point file into the TBC project specifying the format.
- View the ground control to see if it makes sense with the project in that the points are inside the mission area.
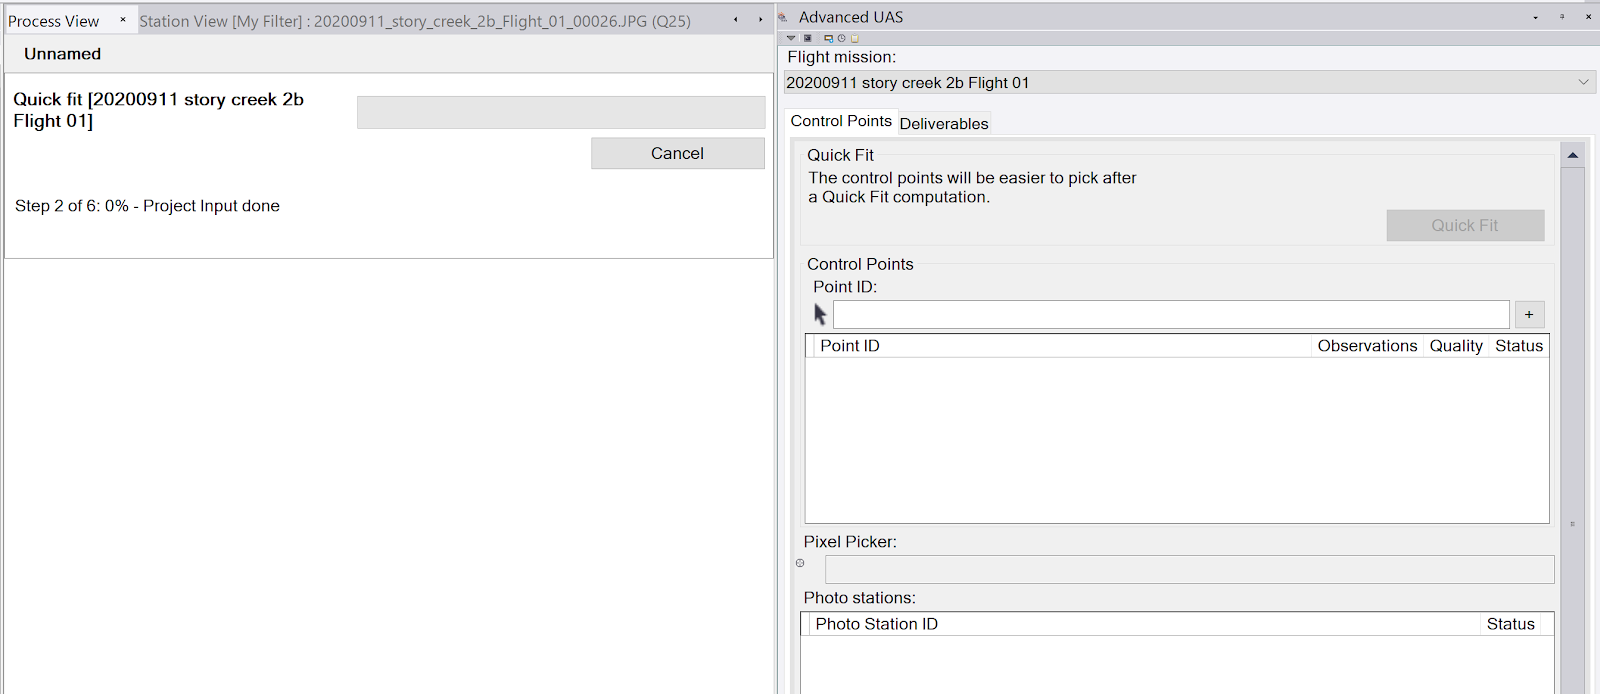
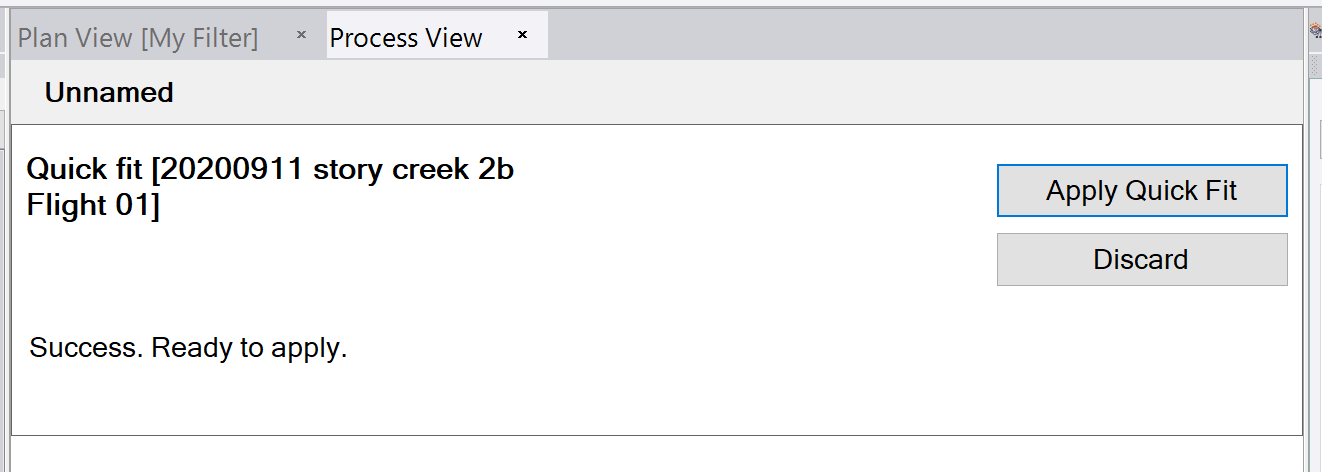
- Under the Photogrammetry tab select “Advanced UAS” to run the "Quick Fit" initial processing.
- Apply the "Quick Fit."
- The next step is marking the GCPs in the photos for absolute adjustments. This is required for both PPK and non-PPK images because TBC doesn’t have the ability to specify accuracy, which is required for full PPK processing. The results using PPK will be better than non-PPK, but will not be under decimeter accuracy.
Under “Advanced UAS” import the GCPs then proceed to mark them in at least 5 photos. - After the GCPs are marked click "Next" to move to specifying the deliverables.
- Click "Process" once the deliverables are specified and then view the report to view the quality of the results.