Terrain following allows adjusting the flight altitude for every flight line so that a consistent GSD and overlap is achieved. Additionally, it increases the safety of the flight plan and prevents collision with the ground.
By default, terrain following in WingtraPilot is based on the elevation data provided by Mapbox. However, this elevation data might not be reliable for steep or fast-changing terrain. The import of custom elevation data as GeoTIFF files is available so that flying with constant flight height over the terrain is also permitted in cases where elevation data from Mapbox is outdated.
One of the great sources for custom elevation data is EarthExplorer service managed by the US Geological Survey. Check out this article to learn more about how to download SRTM tiles from EarthExplorer and set up the data for custom elevation import.
The final responsibility for the safety of the flight when custom elevation data is used lies with the operator. Use only data that is accurate, and confirm the accuracy in WingtraPilot before you fly.
How to import the elevation data
1. Copy the file with the elevation data to the tablet (get it via email, download from any cloud, or transfer it to the tablet with an SD card). The file format should be GeoTiff, and the file size should be below 2 GB. The data resolution should be between 1 and 30 m
Coordinate system: We recommend the WGS 1984 UTM projections, but we support any projected coordinate system that is included in the GDAL (2.4.2) library
If another coordinate system is provided, it will be rejected.
Vertical reference: Orthometric height (egm96, egm2008 geoid or similar)
2. From Settings, select the Elevation Data tab
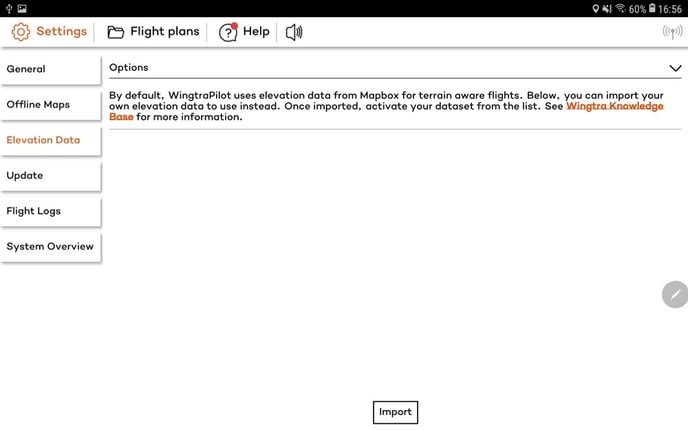
3. Click on the Import button, and select the elevation data file from the tablet location where it is stored
4. The file is automatically checked to ensure that it meets the requirements presented in step 1 (the name of the dataset can be modified after all the checks succeed and you import the file)
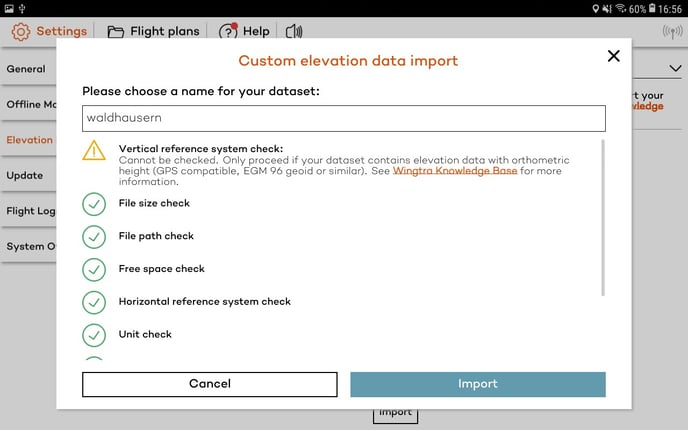
The vertical reference system cannot be automatically checked. Make sure that it is the egm96 geoid or other orthometric height close to this.
5. While the data is imported you can monitor the progress in the progress bar
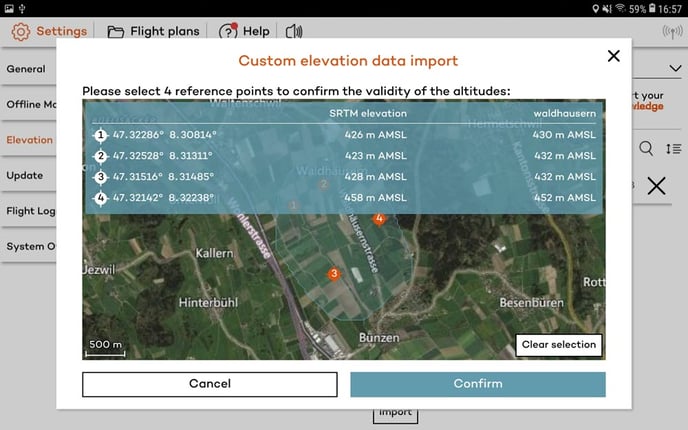
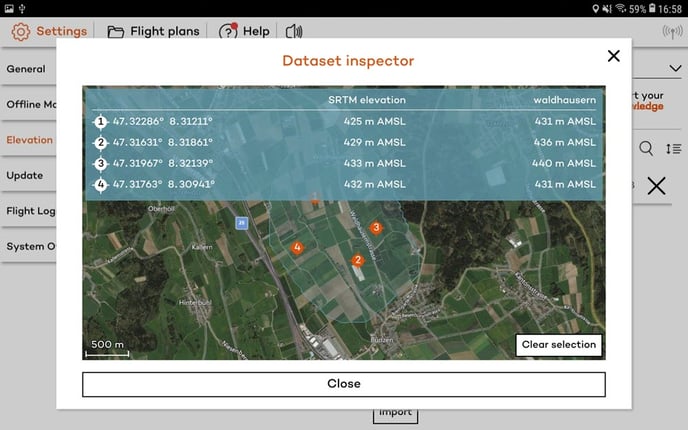
6. Click on four points to confirm the validity of the provided dataset; the horizontal coordinates, as well as the elevation of these points will show up. The Mapbox elevation for these points will also be displayed if the data is available
For the safety of the flight plan, it is very important that the altitudes of the dataset are carefully checked.
How to use the imported elevation data
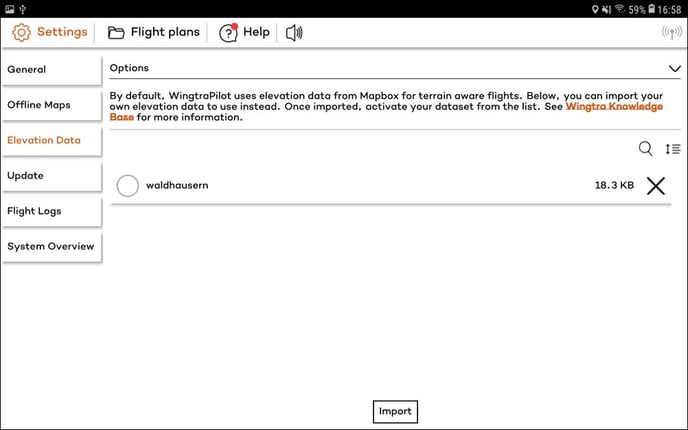
All the imported elevation data can be viewed in the Elevation Data tab as a list. A dataset can be activated by tapping on the circle; from that point, the active dataset is set as in use.
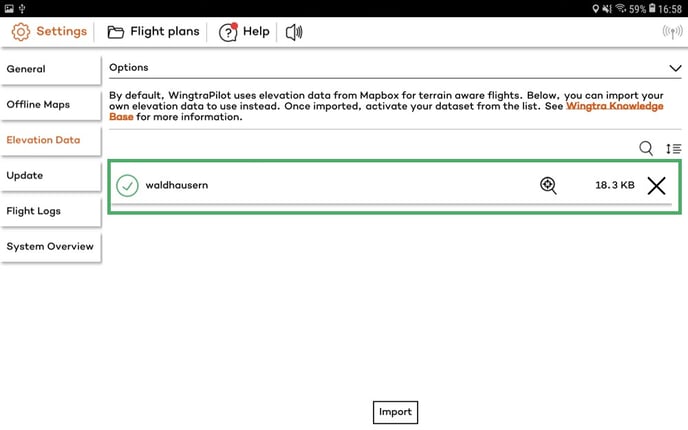
If you want to use the Mapbox data, make sure that no imported dataset is selected/active.
The elevation data can be deleted by pressing the X button. A confirmation message box, like the following, should be displayed before deleting the data set.
Deleting the sets from the list will permanently delete them from the database.
TheElevation Inspector is opened by pressing on the preview icon of a dataset.
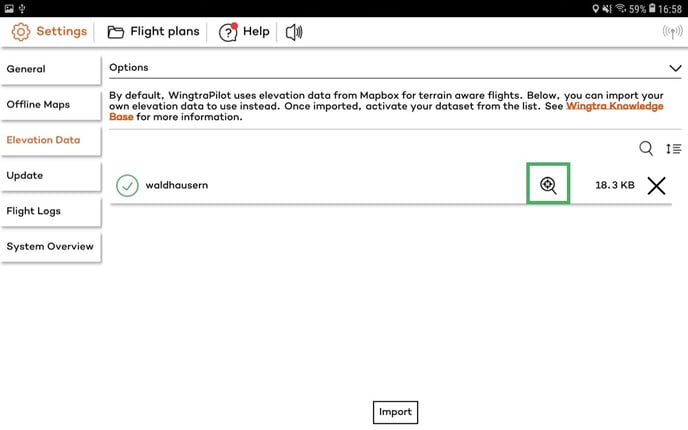
Here, you can preview the data and check the validity of the elevation of the selected points.
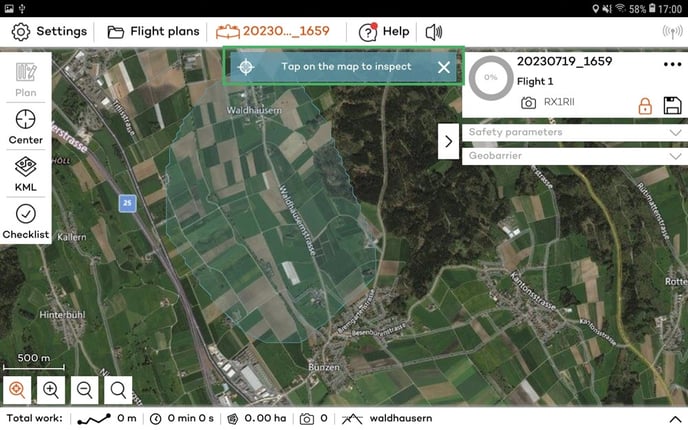
In the flight plan view, you can center on the active elevation layer.
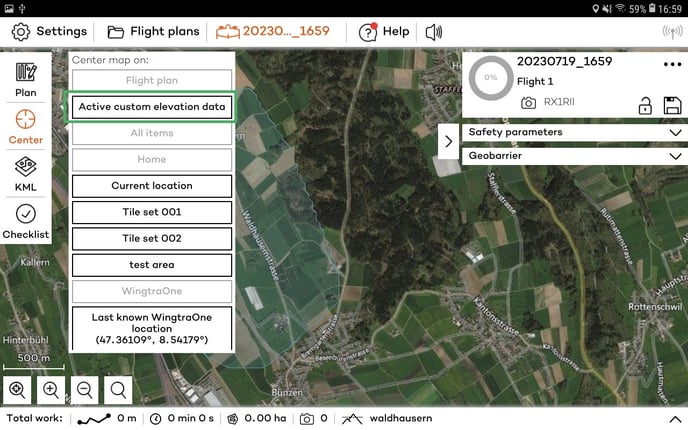
On the bottom of the screen, you can see the elevation data that are currently in use. Only one data source (Mapbox or custom elevation) can be used at a time.
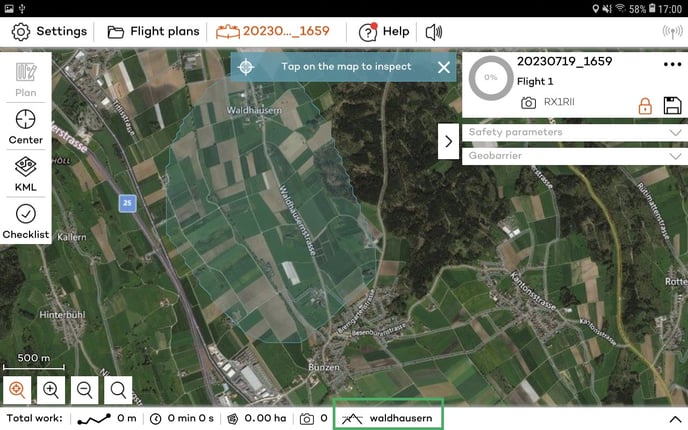
Clicking on the preview icon, next to the zoom icon (see below) on the bottom of the screen, you can open the Elevation Inspector and check the coordinates of the points you click on the flight plan.