Once a flight has been planned, its status will be updated to planned. The next step is to synch the flight plan to the tablet and then perform the flights.
After data collection, the planned flight can proceed with the processing stage by selecting the Process button for the flight.

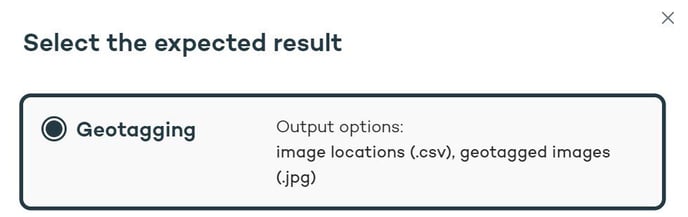
A modal window will appear to specify that Geotagging is the next expected result.
Specify the location of the mission folder or simply drag and drop the folder into the import modal window. 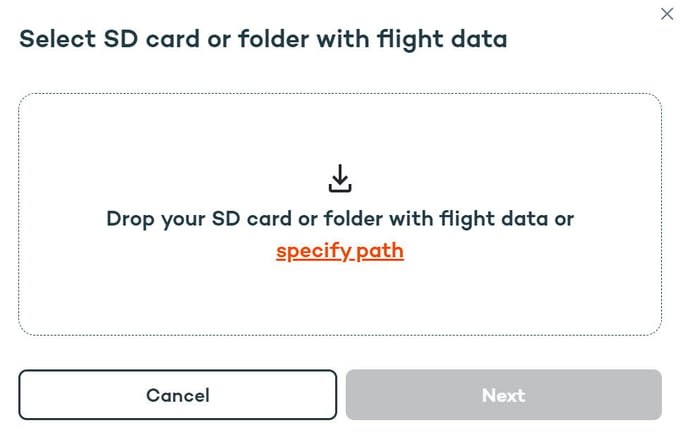
Once the mission folder is loaded, it will display the image positions on a map, the project information, and validate the files. Click Next to proceed to the Correction data import step. For the correction data, you have three options to select: Base, CORS, and None.
1. Base - Import RINEX files from the local base station
After the RINEX files are uploaded, a base location needs to be entered manually or selected if the location is already saved. The site coordinate system will be selected by default, but it can be modified so that the user can enter the position in the desired system.

If the base location is accurately saved in the RINEX or the approximate position is good enough, the base location entry can be bypassed by checking the Use base location from RINEX box.

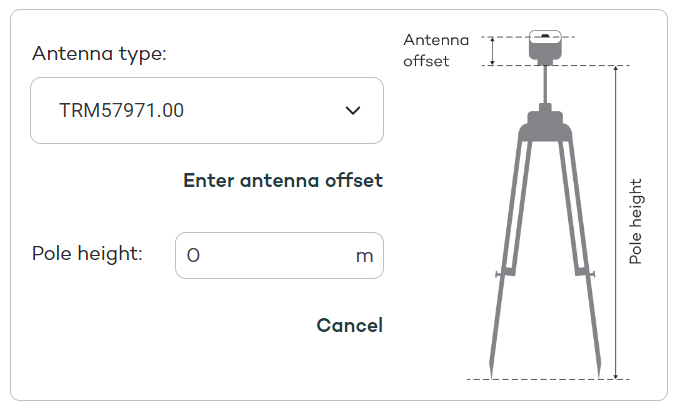
With a local base station, the Antenna type should be detected from the RINEX files or can be specified in the drop-down list. The pole height to ARP needs to be entered to account for the offset between the antenna reference point and coordinate.
After all of the base location details have been filled in, make sure to save the location and then give it a name.

2. CORS - Import RINEX files from a CORS network station
When the RINEX files are added to the CORS selection a modal window will open to select the coordinate system. Based on the site location the program will attempt to suggest the correct CRS, but the coordinate system should be checked from the station report to see what CRS the RINEX location is in.
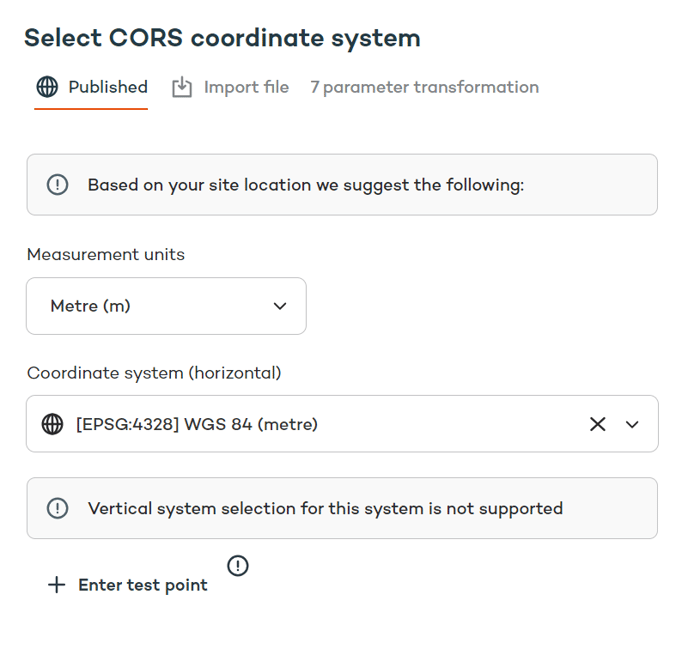
An optional tip is to enter a test point, which helps verify that the coordinate system aligns properly.

3. None - Non-PPK geotagging so no corrections are made.
Since no RINEX import is involved no actions are needed.
After setting the correction data the next modal window provides some information and estimations about the project. The Output CSV Format should be set to the appropriate setting according to the photogrammetry software that will be used for processing, and if geotagged images need to be outputted, check the toggle switch at the bottom.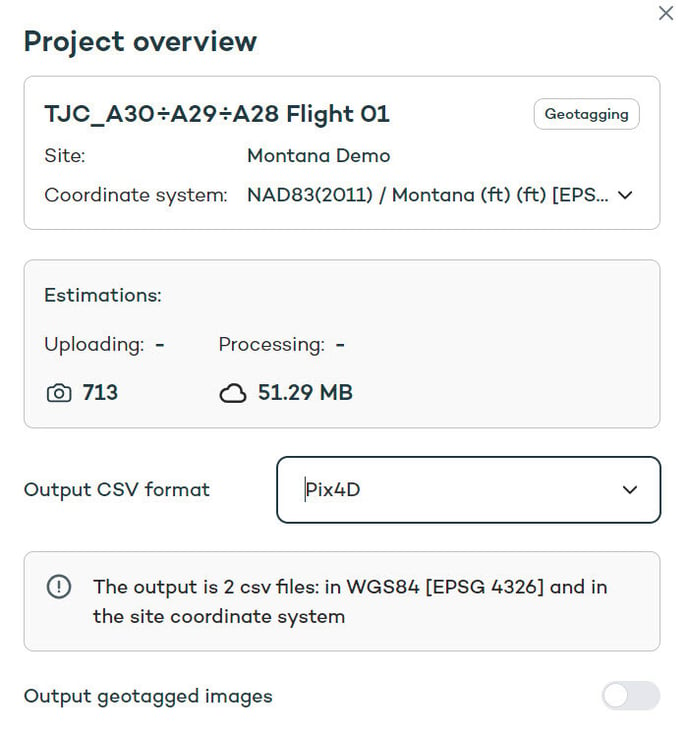
The CSV will output in 2 files: WGS84 [EPSG 4326] and the specified site coordinate system. Processing is faster if you choose not to output geotagged images.

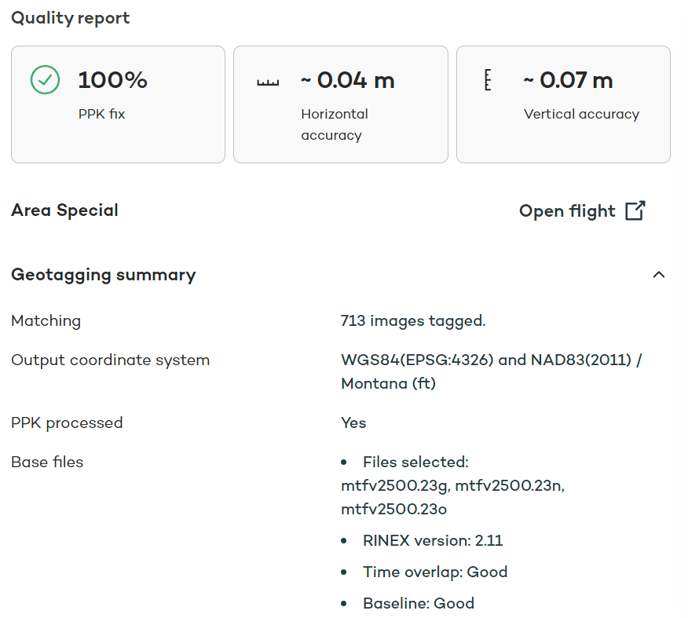
After the processing is finished the mission status changes to Geotagged. A Quality Report is also available to review all of the processing settings or go back to review a flight.
By clicking on the flight, in the Flights menu, there will be an option available to view all files which is where all of the mission data is stored in one location.
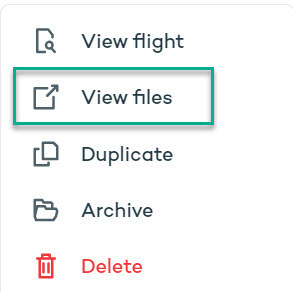
The files can now be downloaded for use in other software programs.