
This replacement is recommended to be carried out by all customers themselves. Wingtra's warranty is not affected by this replacement.
Removing propellers is recommended only in case they are damaged or if you are going to use high-altitude propellers. Do not remove propellers while packing the drone for transport!
Select your propeller type
All propellers with screws are compatible with all WingtraOne GEN I and WingtraOne GEN II drivetrains.
Propellers without screws are not compatible with drivetrains with holes.
a. Propeller with screws
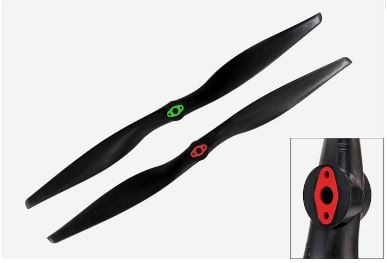
Step 1. Remove the old propeller
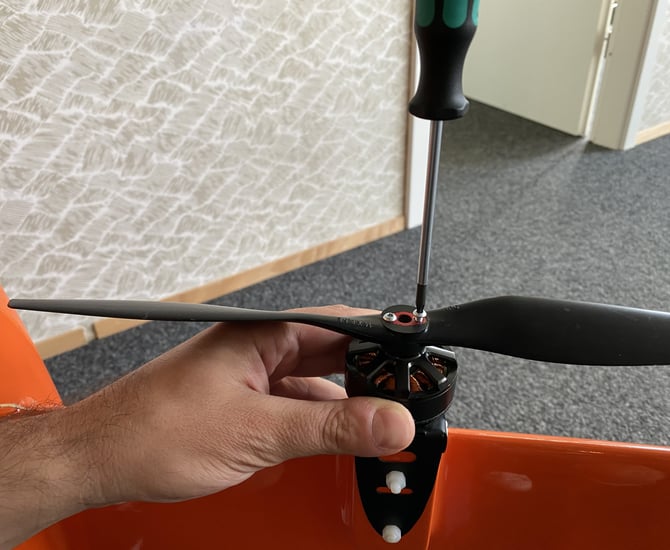
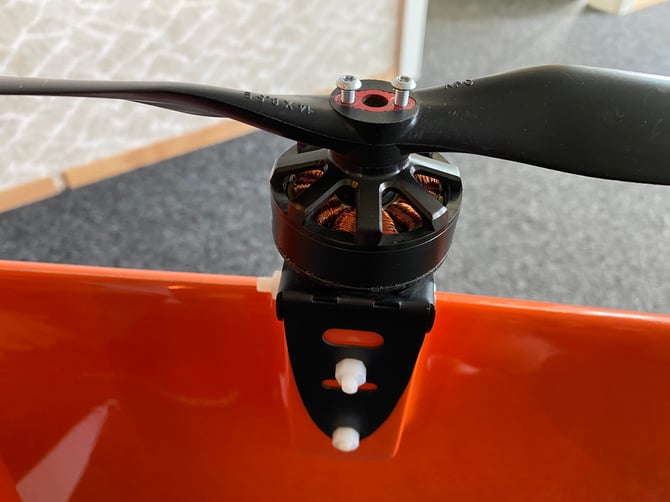
Step 2. Place the replacement propeller
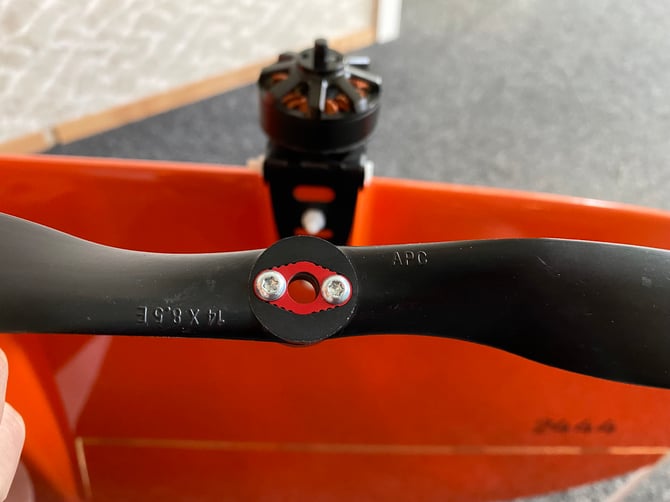
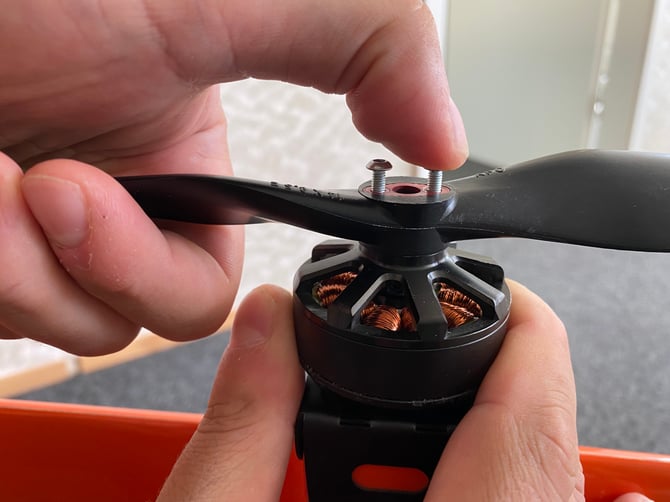
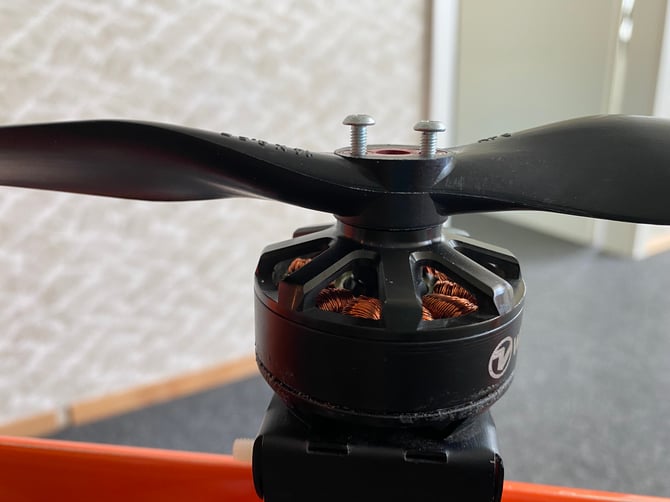
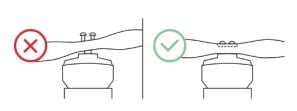
If you have the propellers with screws but the motors do not have the holes for the screws, insert the propellers following the instructions below.
b. Propeller without screws
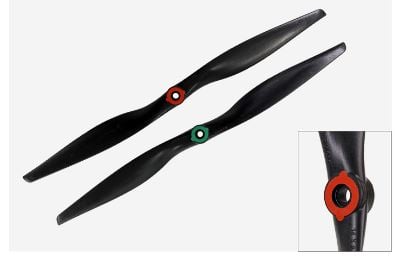
Step 1. Remove the old propeller
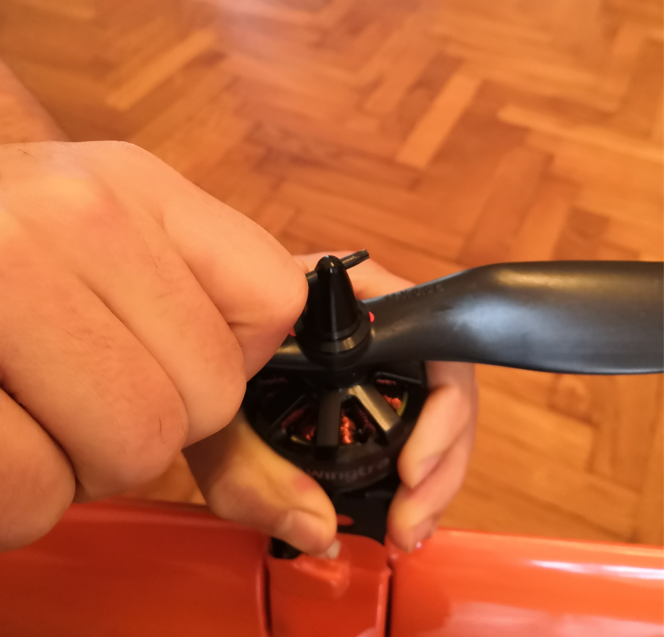


Step 2. Place the replacement propeller
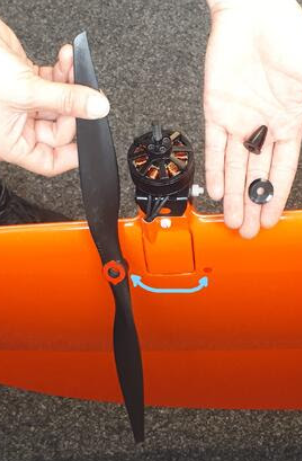


Step 3. Tighten the propeller

Step 4. Check the propellers


To reduce the chance of operator error, please check the video tutorial below to confirm how to check the propellers and tighten the versions without screws.