Skip to content
English
  • There are no suggestions because the search field is empty.

Move the RedEdge-MX to a WingtraOne GEN II mount

This article offers the step-by-step instructions on how to remove a RedEdge-MX camera from a WingtraOne GEN I RedEdge mount and insert it in a WingtraOne GEN II compatible mount.

Step-by-step instructions

Step 1. Remove the RedEdge-MX camera attached to the mount from WingtraOne GEN I

RedEdge_cover

  • Power off the WingtraOne and lay it down on a flat surface, e.g., a table with the nose pointing at you
  • Open the top cover

step11

  • Unplug the USB-C universal payload adapter

step5-4

  • Use the Torx screwdriver to unscrew the four screws in each corner of the payload area
💡 The screws are attached to the camera mount, so you do not need to worry about losing them inside
  • Remove the drone the camera mount with the RedEdge-MX camera—to do this, gently push the mount from the lens side while tilting it slightly

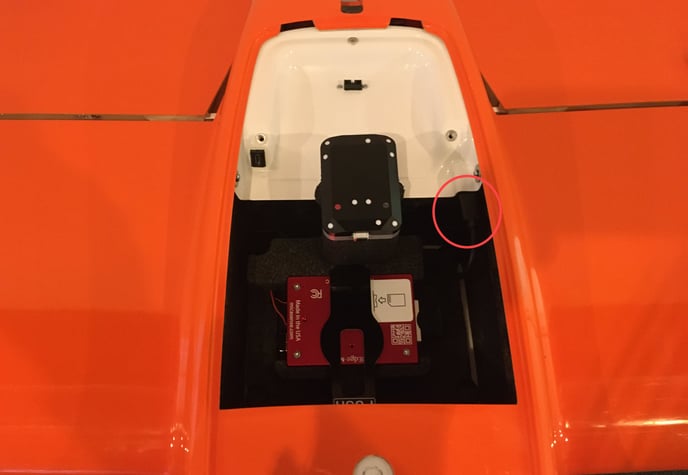
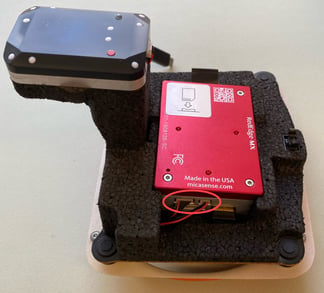
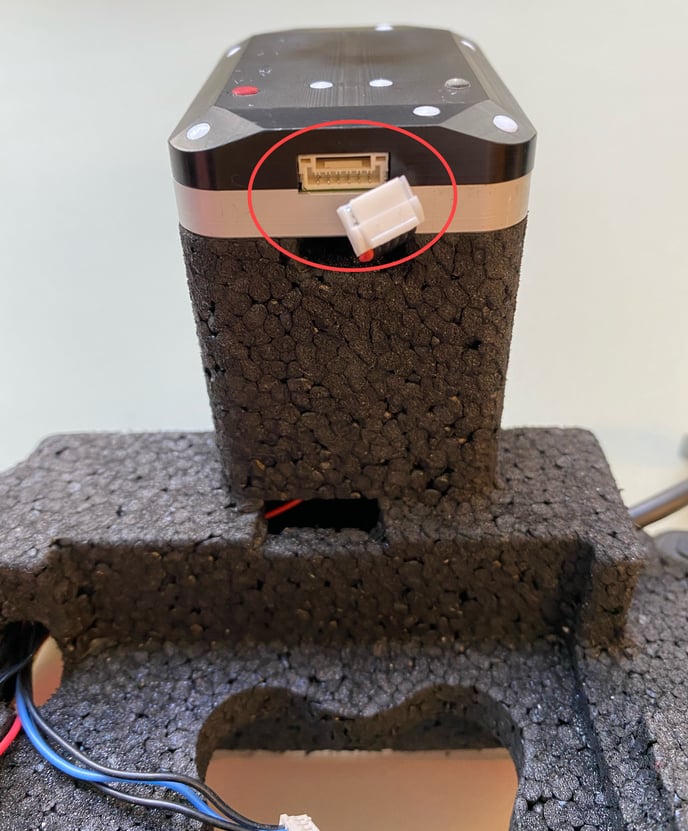
Step 2. Remove the RedEdge-MX from the mount

RE old mount_Push button
  • Place the RedEdge-MX with the mount on a flat surface
  • Press on the PUSH button to remove the retainer


RE pull side cables


  • Unplug the side cables that connect the camera to the mount
  • we recommend using tweezers or a small flat-head screwdriver to gently pull the connector out of the camera to prevent damaging the cables or connectors
  • Once the cables are unplugged, the camera can be removed from the mount
    💡 Push the camera gently from the lens to take it out of the mount easily


RE DLS unplug cable
  • To remove the DLS sensor, first unplug the cable that connects it to the mount


RE DLS bottom screws v2
  • Then, take the Phillips screwdriver and unscrew the 2 screws at the bottom side of the DLS tower
    Make sure to hold the DLS sensor while unscrewing the screws so that it doesn't fall down
  • Remove the DLS sensor from the tower and put it aside

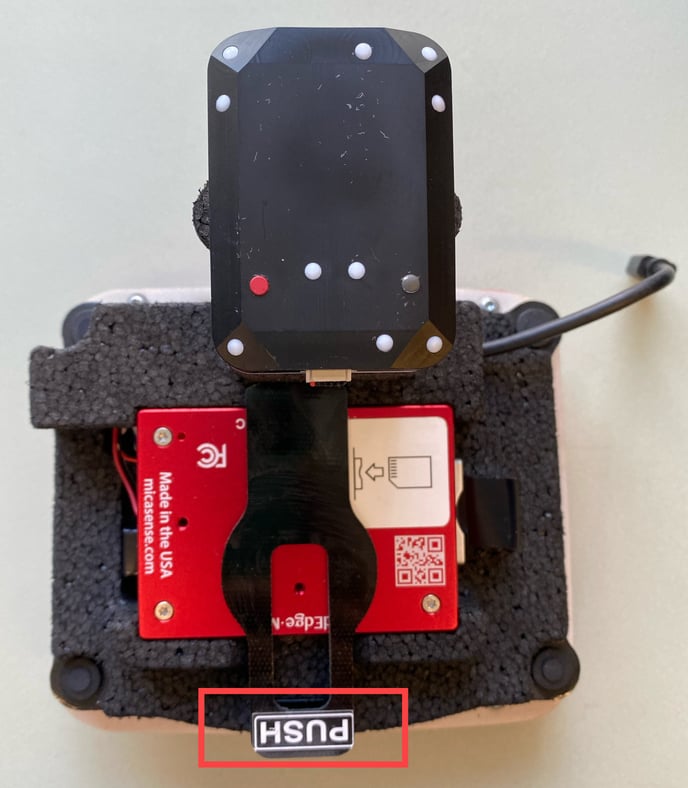
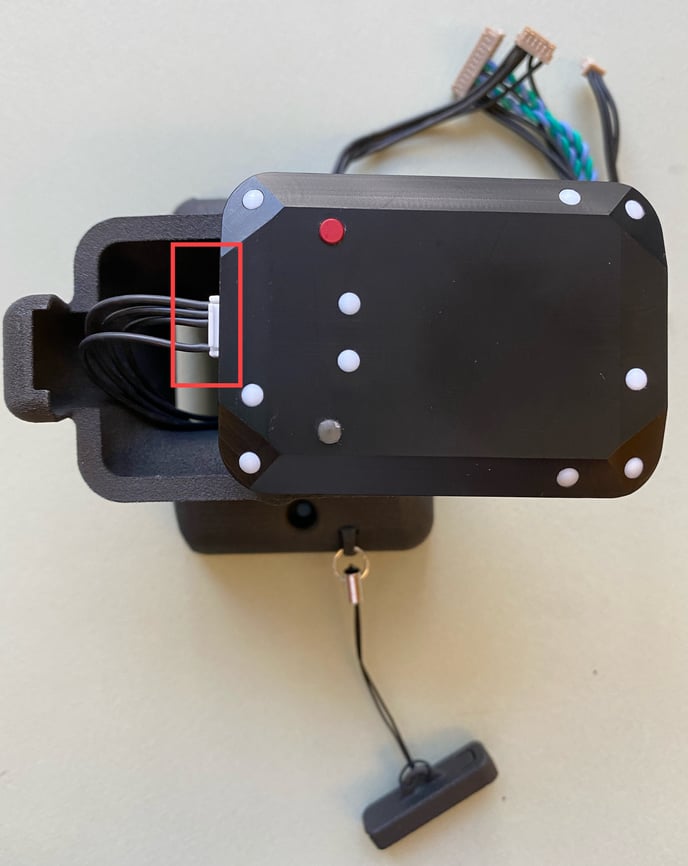
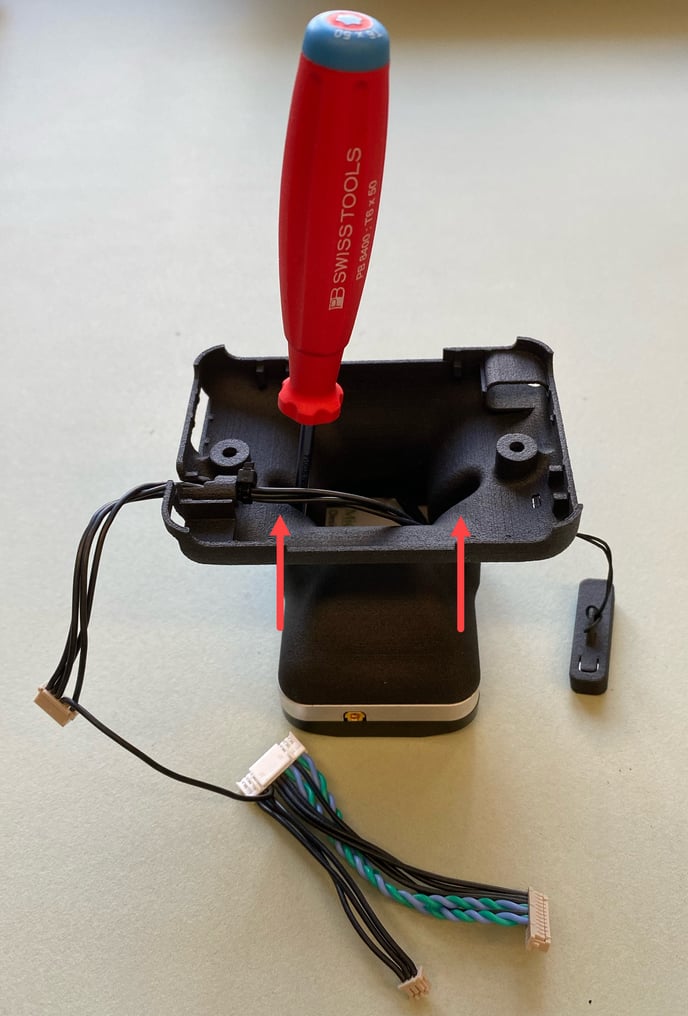
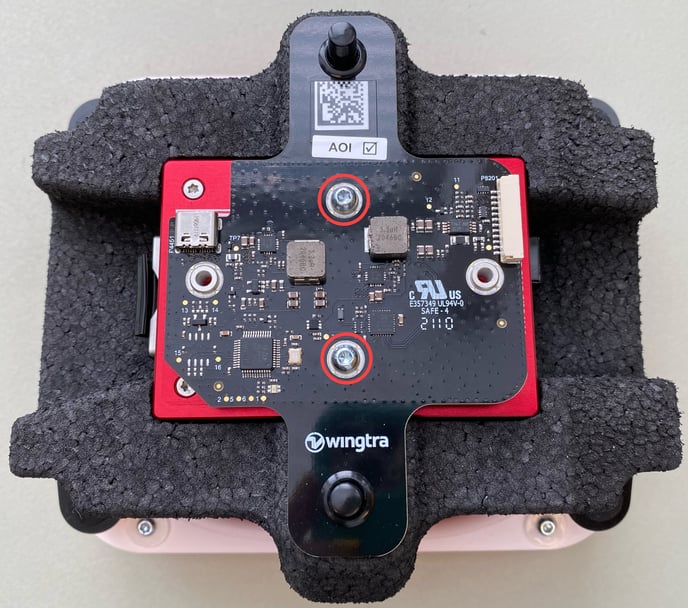
Step 3. Place the RedEdge-MX camera into the GEN II mount

RE new DLS on tower
  • Take the tower with the cables and plug the cable on top into the DLS sensor
  • Place the DLS sensor on the top of the tower so that it fits well
RE screw new DLS to tower
  • Take the T6 screwdriver and tighten the screws from inside of the tower at the locations indicated in the picture; you might need to adjust the DLS so that you can find the holes with the screw
RE sticker
  • Remove the white sticker on the bottom side of the RedEdge-MX camera
RE CCU place-1
  • Place the camera so that the SD card slot is on the left side

  • Place the camera control unit (CCU) on top of the RedEdge-MX so that the Wingtra logo is readable

  • Take two of the new M3x10mm screws and mount them on the top and bottom positions as indicated in the picture
RE white connector
  • Place the tower with the DLS on top of the camera with the cables on the right side
  • Screw in the remaining 2 M3x10mm screws
  • Plug the white connector into the tower
RE other connectors-1
  • Plug the other connectors into the side of the camera
RE USB C connector
  • Plug the USB-C connector into the tower
RE beamer button
  • Place the camera into the RedEdge-MX GEN II mount
  • Press the buttons on the beamer to lock the camera to the mount

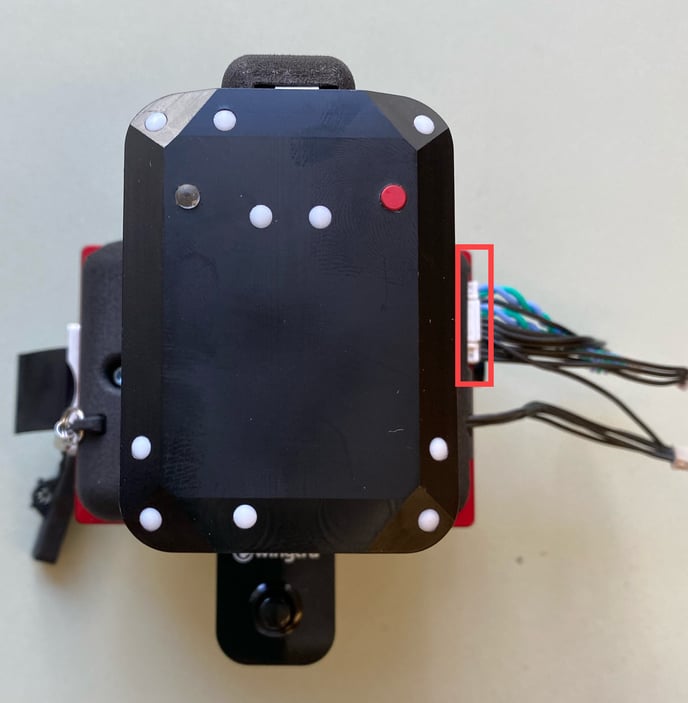
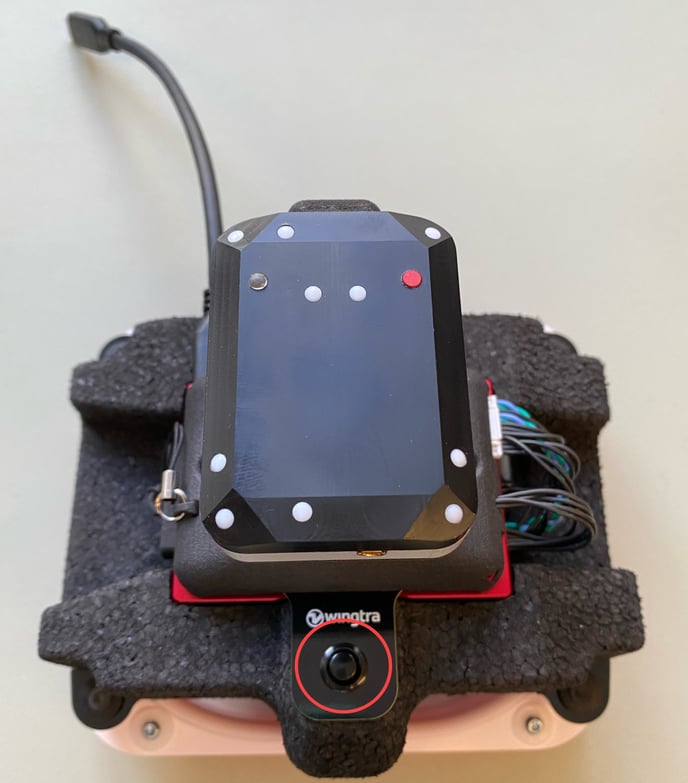
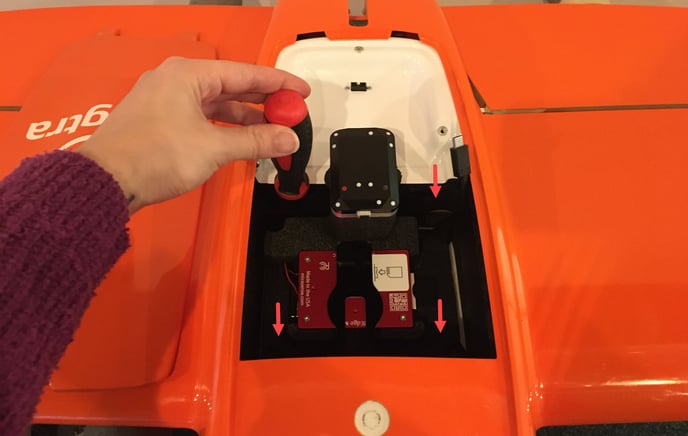
Step 4. Place the RedEdge-MX attached to the new mount into WingtraOne GEN II

  • Use the Torx screwdriver to tighten the screws into the four corners of the payload area. Make sure you don't overtighten them (maximum torque 0.4 Nm - use two fingers tightness).
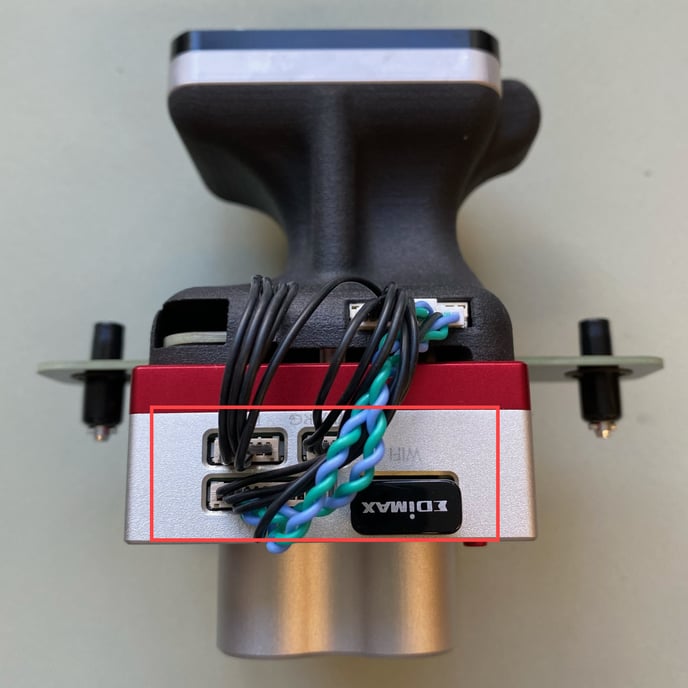
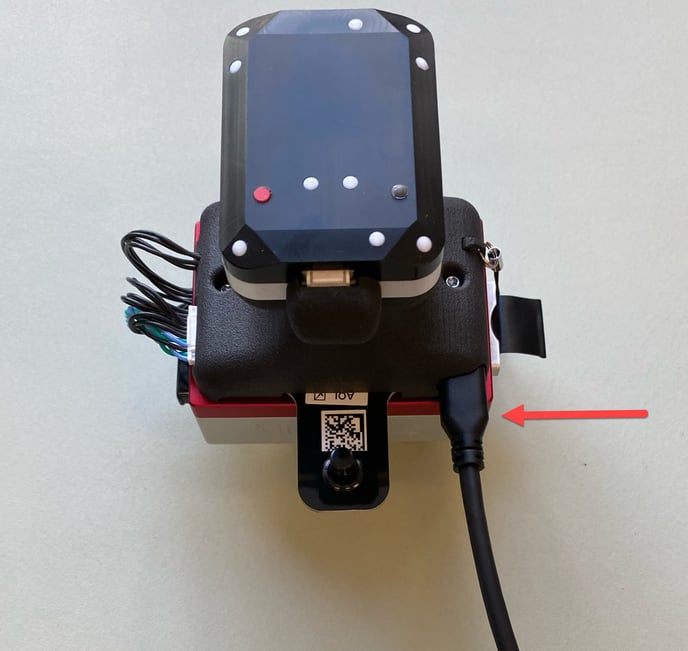
  • Plug the USB-C universal payload connector into the drone
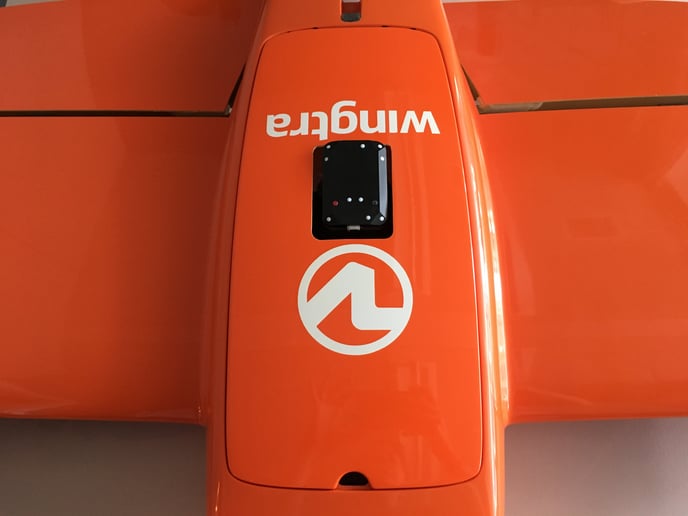
  • Close the top cover
  • Run a test flight