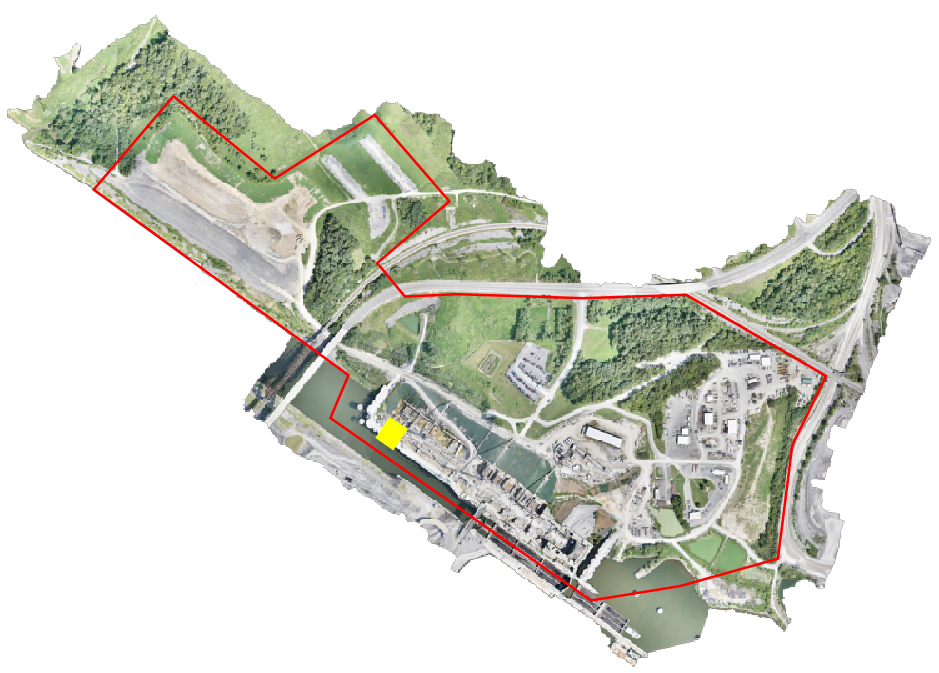
The best method for clipping a box is to create a KML boundary file of the target area.
With QGIS open drag and drop the TIFF file that needs to be edited.
Under the 'Raster' tab click 'Extraction' then select 'Clip Raster my Mask Layer.'
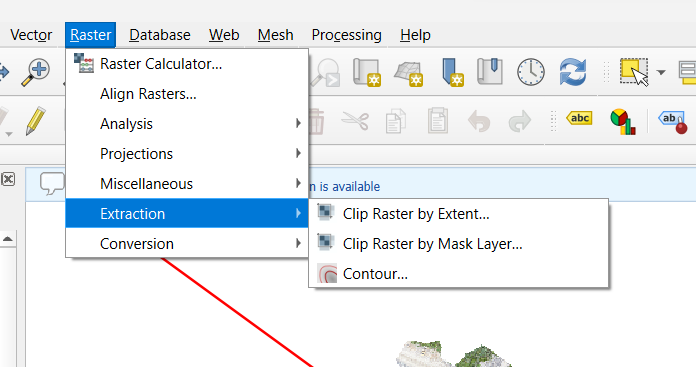
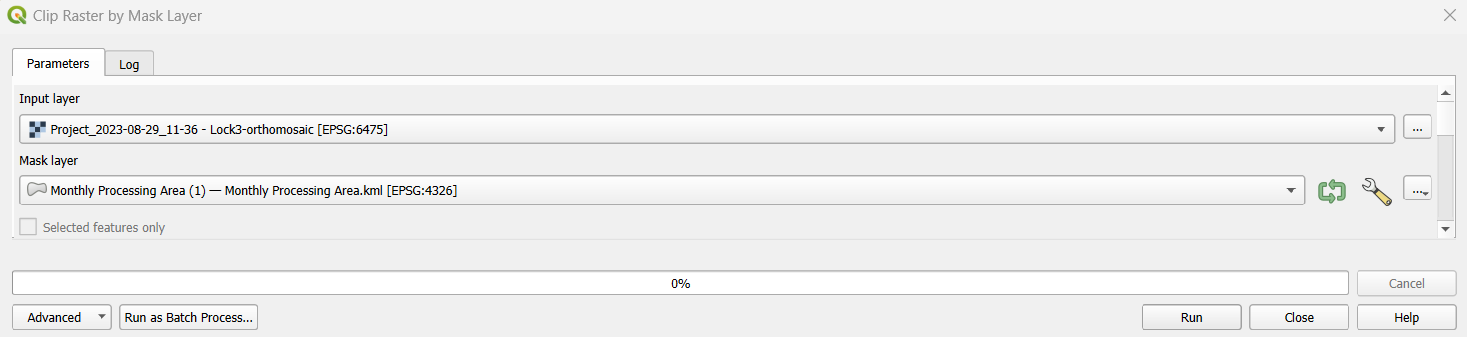
Find the KML file then ensure the input layer orthomosaic and mask layer KML is selected correctly then click 'run.'
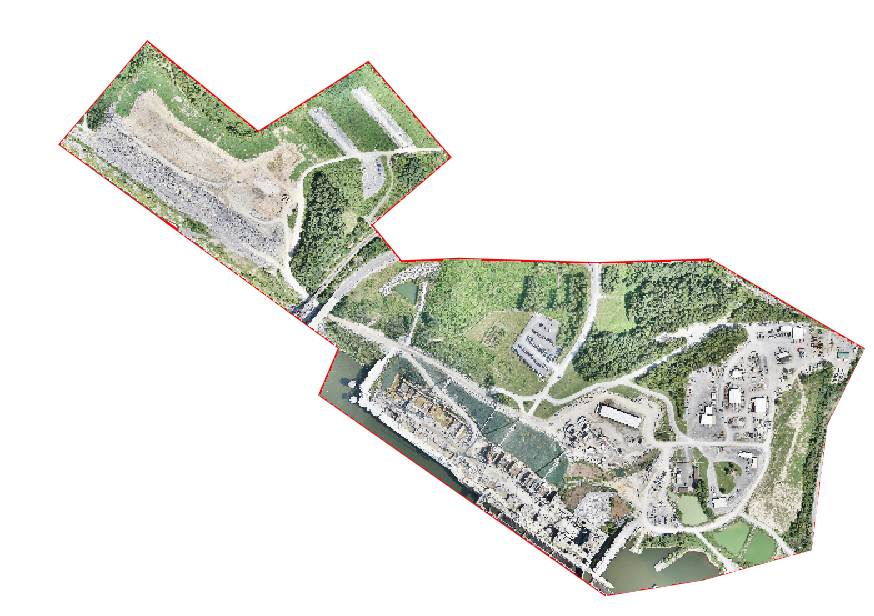
After the process, a new layer is created. To view the clipped area uncheck the ortho and ensure only the clipped (mask) layer is enabled.

One thing to note is that the LZW compression is unpacked in QGIS so if you were to export the project the file size will be larger than what was imported. The Clipper tool makes an uncompressed image by default.
When you right-click on the layer select the output mode as ‘Rendered image’
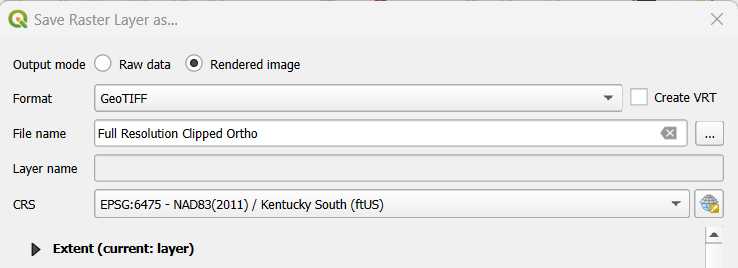
In this example, the imported Tiff file size was 9 GB and the exported rendered image was 16 GB in file size.
To match the LZW compression click the green plus symbol then enter 'COMPRESS = LZW' + 'BIGTIFF = YES' under the advanced parameters section instead of selecting a profile. This will keep the file size relatively the same as the input from Pix4D which uses the same compression type.

For more information on compression and file size please \review the article on how to utilize compression to reduce the file size.