Skip to content
English
  • There are no suggestions because the search field is empty.

Replace the PPK fixation mechanism

Step by step instructions on how to replace the PPK fixation mechanism.

Time required 30-40 min
Difficulty Moderate
Equipment WingtraOne, female push-to-release lock, long nose pliers, UHU POR or similar glue for expanded polystyrene (Styropor)


Wingtra recommends customers to perform replacements themselves in order to minimise downtime. Wingtra's warranty is not affected by performing the below steps carefully. 

Contact your local distributor if you prefer the replacement to be done as a paid service on your behalf.

Step by step instructions

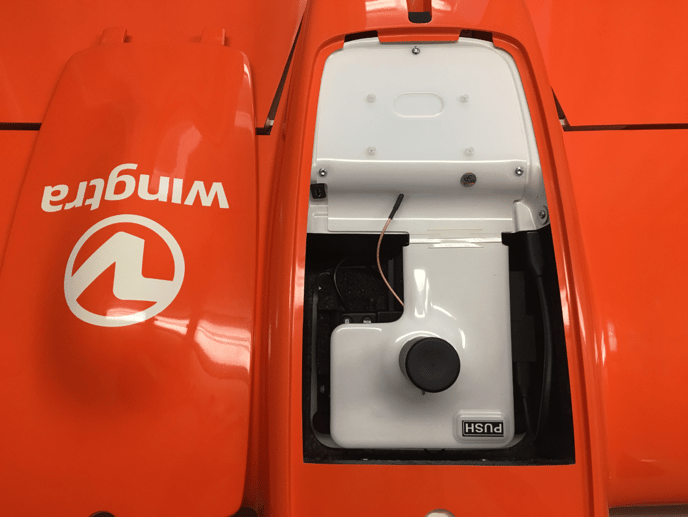
Step 1 Open the top cover

remove_3
  • Power off the WingtraOne and lay it down on a flat surface, e.g. table.
  • Open the top cover.
  • If applicable: Open the PPK cover pressing on the PUSH button.

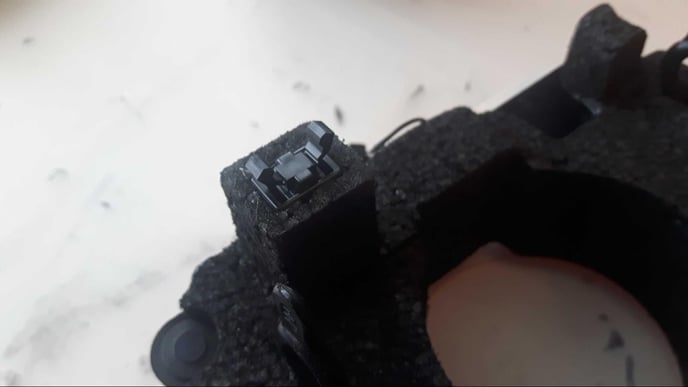
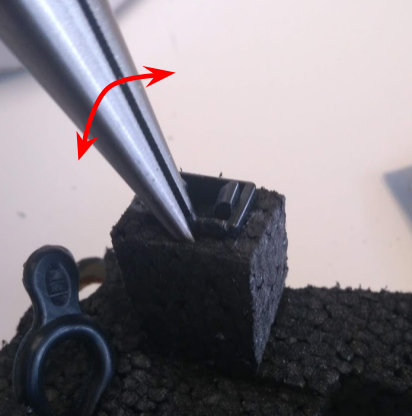
Step 2 Remove the broken female push-to-release lock

step6
  • Locate the broken female push-to-release lock of the PPK lid on the camera mount.
  • Take the mount out of the WingtraOne and the camera out of the mount.
    ⚠️ Performing the replacement with the mount in the drone is possible, but it is harder.
  • Take long nose pliers and grab the female-push-to-release lock. You may slightly push the pliers into the foam. Then, pull the push-to-release lock out, slightly wiggle as indicated in the image to ease pulling.


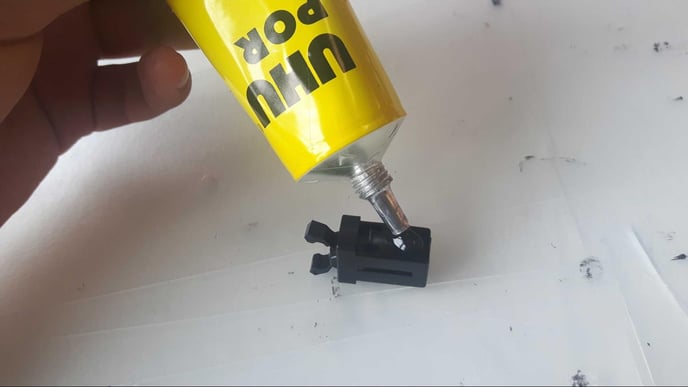
The latest female push-to-release buttons come with adhesive tape, so no glue is needed to place them into the mount. If the female push-to-release button does not have adhesive tape follow step 3 instructions.

Step 3 Glue the new female push-to-release lock (optional)

step7
  • Take the new female push-to-release lock and apply UHU POR on the two small sides.
step8
  • Put a small drop of UHU POR on both short sides of the hole where the push-to-release lock will be.
  • Let the glue cure according to instructions. For UHU POR the curing time is 20 minutes.

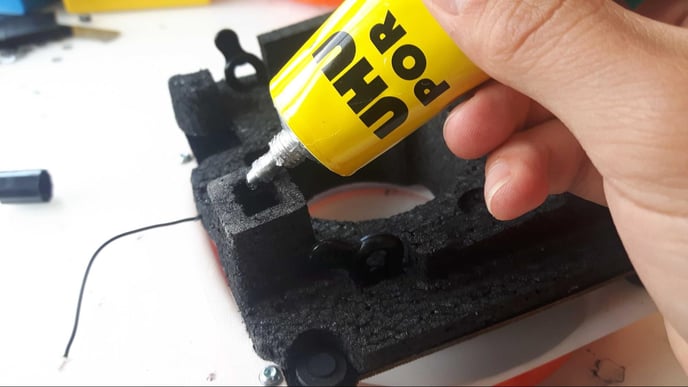
Step 4 Place the new female push-to-release lock into the mount

step10
  • After 20 minutes, mount the push-to-release button. Make sure it is flush with the surface of the foam and press well on the outer sides so that the glue applies well.
  • Place the camera and the mount back into WingtraOne.
  • Close the PPK cover and check whether it locks correctly in the new push-to-release lock.