To process a project with Agisoft Metashape please follow the step-by-step instructions. You may download a dataset from this link.
General recommendations
- WingtraOne data sets, in particular from its RX1R II payload, can be very large. Please make sure to have enough computing resources available.
- We recommend >= 32GB RAM, >6 core and enough high-speed SSD storage. For more information please check this article.
Step 1— Open Metashape and create a project
- Click on Workflow and select Add photos to manually select photos or Add Folder to select all photos in a folder.
Note that Metashape allows you to select either geotagged images ( In that case, the images from your Output folder if the images were geotagged in Wingtra Hub) or you can import raw images and add the corresponding geolocation file (.CSV, TXT) at a later stage.
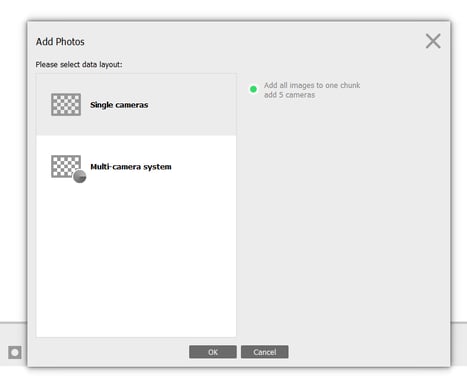
Step 2— Select Single cameras
- Select Single cameras
Step 3 — Align Photos
Click on Workflow and select Align Photos...
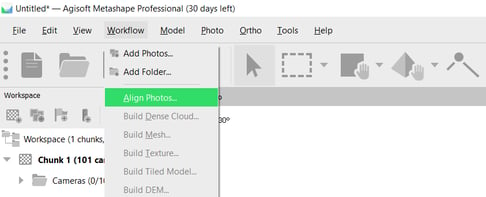
We recommend using High Accuracy and that you tick the "Generic preselection" and "Reference preselection" boxes.
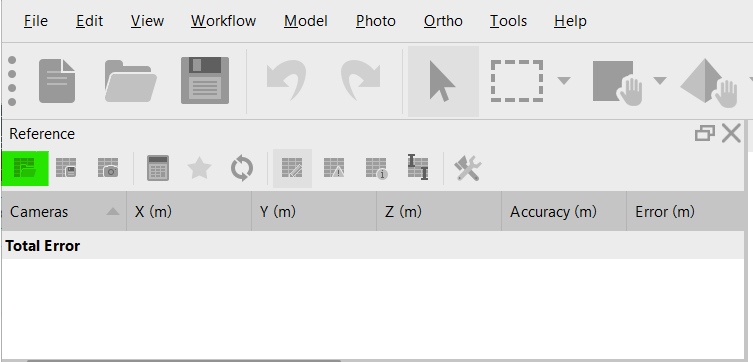
Optional: Importing image geolocations (camera positions)
if you imported just the raw images, you can add the camera positions at this stage.
- From the reference plane (view -> reference plan), select Import Reference and browse to the file location.
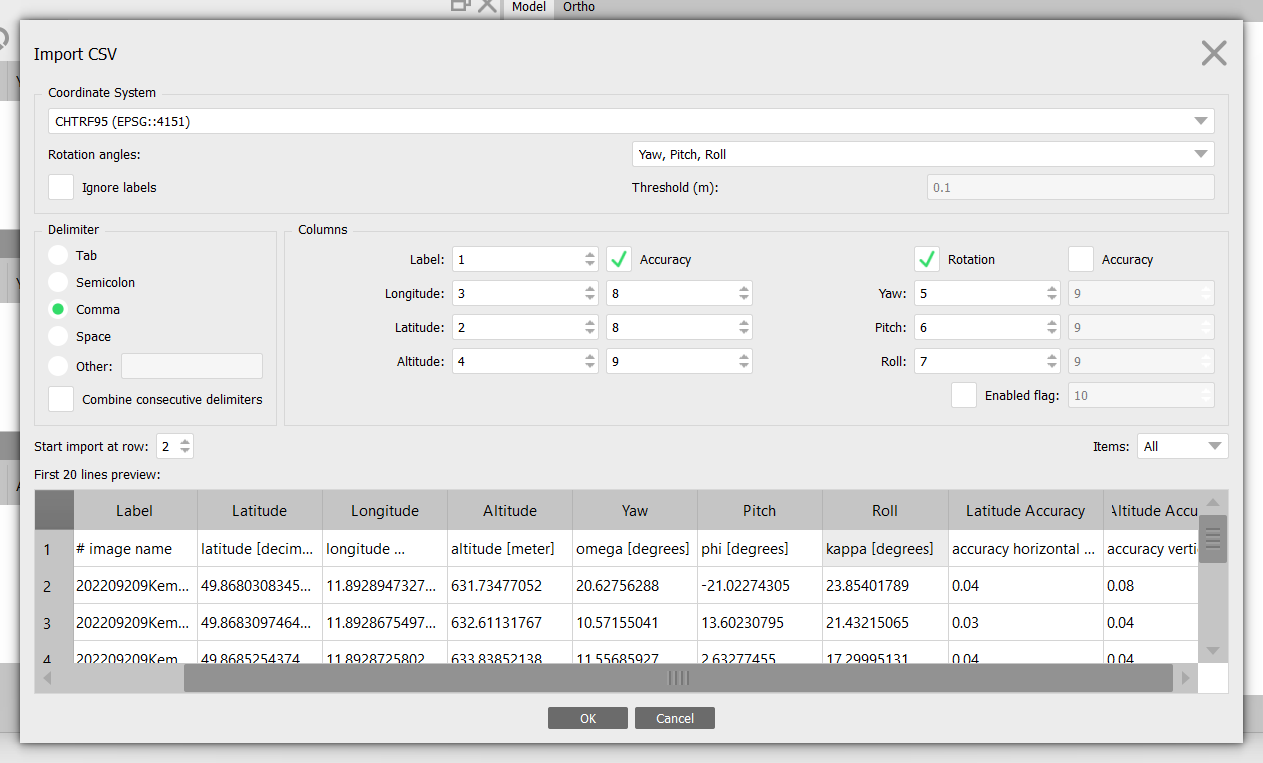
- Next, specify the format of your geolocation file.
- Select the correct coordinate system
- Delimiter
- Rotation angles
- Columns
- Start import at row (This should be the column where the first information is recorded. e.g. 2)
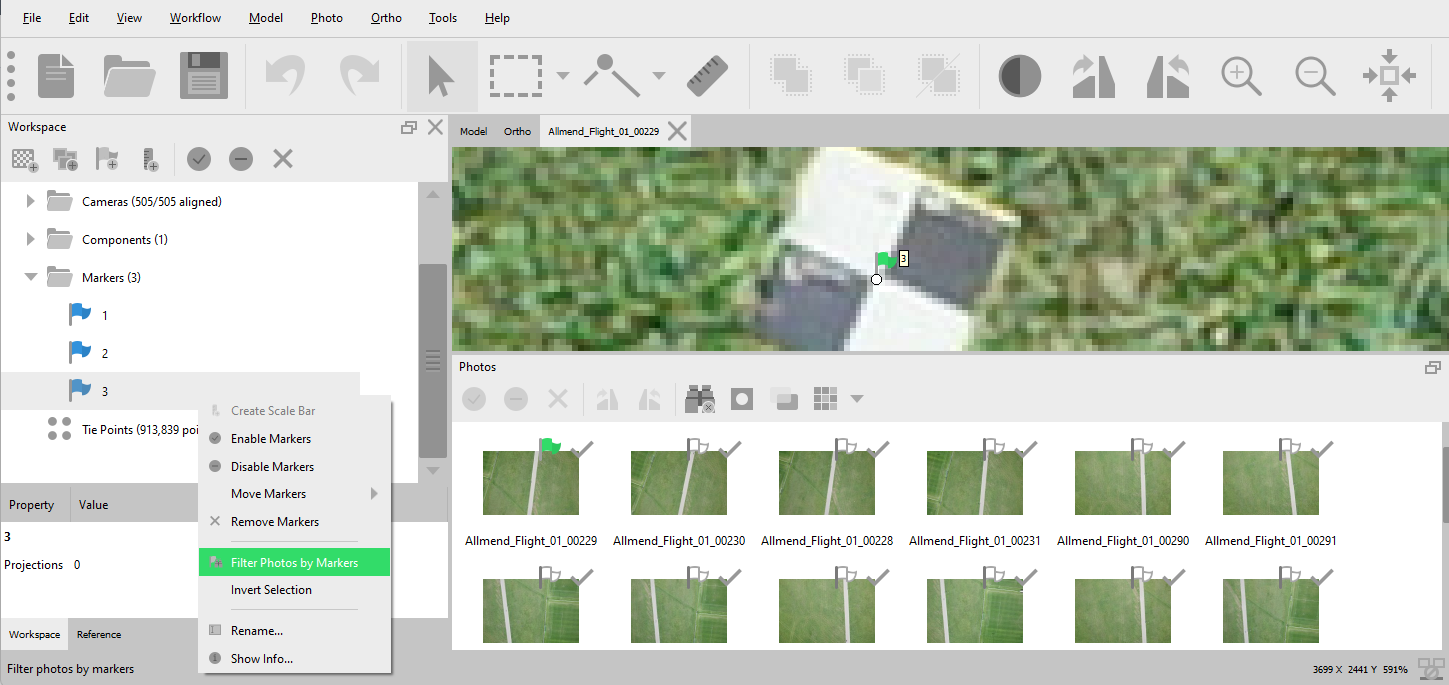
Optional - Importing GCP / Checkpoints as markers.
If you wish to use GCPs or checkpoints in your project, repeat the step above and select the GCPs or checkpoints instead of the image geolocations.
Next, specify the format of the GCP or checkpoint file as before.
GCPs or checkpoints must be in the same coordinate system as the input images.
Once the markers have been added, proceed to move the marker project to the desired location.
- Right a marker from the workspace or reference plan. Select filter photos by marker.
- Double click an image a display it and move the marker projection to the desire location.
GCPs and Checkpoints
Markers can be used as either GCPs or checkpoints. From the reference plan, each marker has a check box. If the check box is checked then the marker is used as a GCP else it is used as a checkpoint.
Step 4 — Optimize Cameras
During the initial photo alignment process, Metashape estimates the internal and external orientation parameters, however, optimizing the cameras using the imported camera geolocations to reduce or minimize the error resulting from coordinate misalignments and reprojection errors.
- From the workspace, right click on the Chunk, process -> optimize cameras.
Step 4 — Build Dense Cloud
Go to Workflow and select Build Dense Cloud...
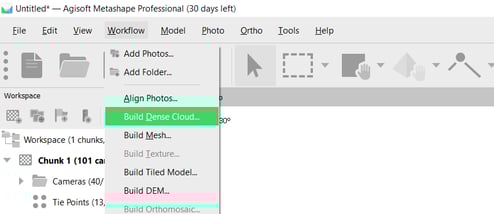
We recommend using High Quality for better results. Note that this can make the processing take longer.
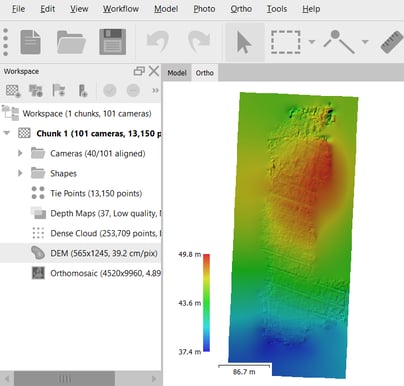
Step 5 — Build DEM
Go to Workflow and select Build DEM...
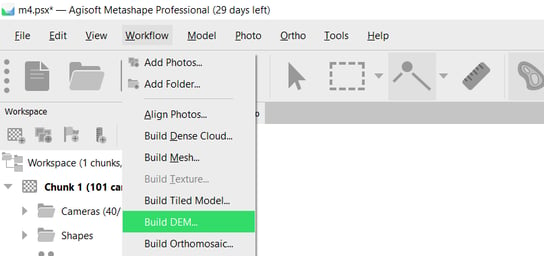
We recommend using High Quality for better results. Note that this can make the processing take longer.
The DEM is the Digital Elevation Model which can give you precise information on the Surface model and where the water will flow to.
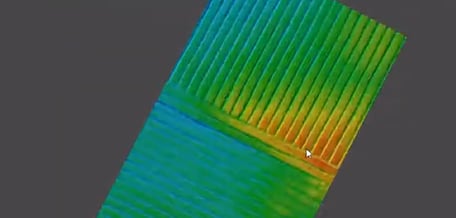
You can view the DEM by double-clicking on DEM under Chunk1 and see the map with different colors showing the heights.
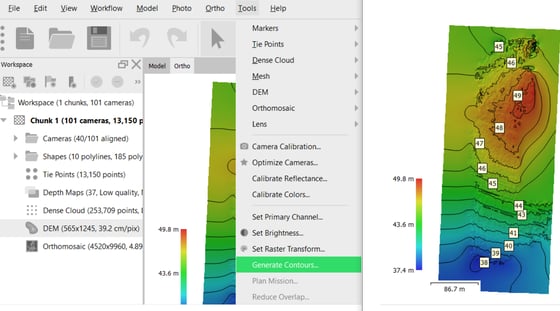
You can even see the Contour Lines by clicking on Tools and Generate Contours...
Here you can choose the interval measured in meters and set the min and max altitude
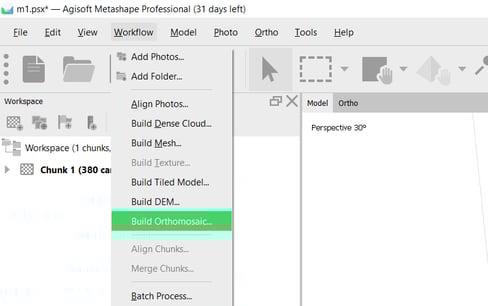
Step 6 — Build Orthomosaic
Go to Workflow and select Build Orthomosaic...
You can view the Orthomosaic by double-clicking on Orthomosaics under Chunk1
If you'd like to see more examples and understand more about exporting the data, please check Metashape's Knowledge Base.