⚠️ At the moment, Pix4D Fields is only able to process multispectral images that are not PPK-corrected. If you wish to use the software, you can directly load the images collected after the flight.
Pix4D Fields is a software created specifically for Agriculture and used with multispectral cameras. It processes faster than Pix4D Mapper and Agisoft Metashape and can create different outputs such as: Orthomosaics, Vegetation Index maps, Zonation maps, Prescription maps, Annotations, Field boundaries and Digital surface models.
We suggest the use of Pix4D Fields for early adopters. When you need a dense point cloud or more precise information, it's better to process in Pix4Dmapper or Agisoft Metashape.
To process a project with Pix4D Fields please follow the step-by-step instructions. You may use download a dataset from this link.
General recommendations
- WingtraOne datasets, in particular from its Micasense Altum sensor, can be very large. Please make sure to have enough computing resources available.
- We recommend >= 32GB RAM, >6 core and enough high-speed SSD storage. For complete specifications, please refer to the Pix4D Fields support page.
- There's no limitation to the size of the field when it comes to Pix4D Fields. The maximum size of the orthomosaics comes from hardware limitations. More information on this article.
Step 1— Open Pix4D Fields and create a new project
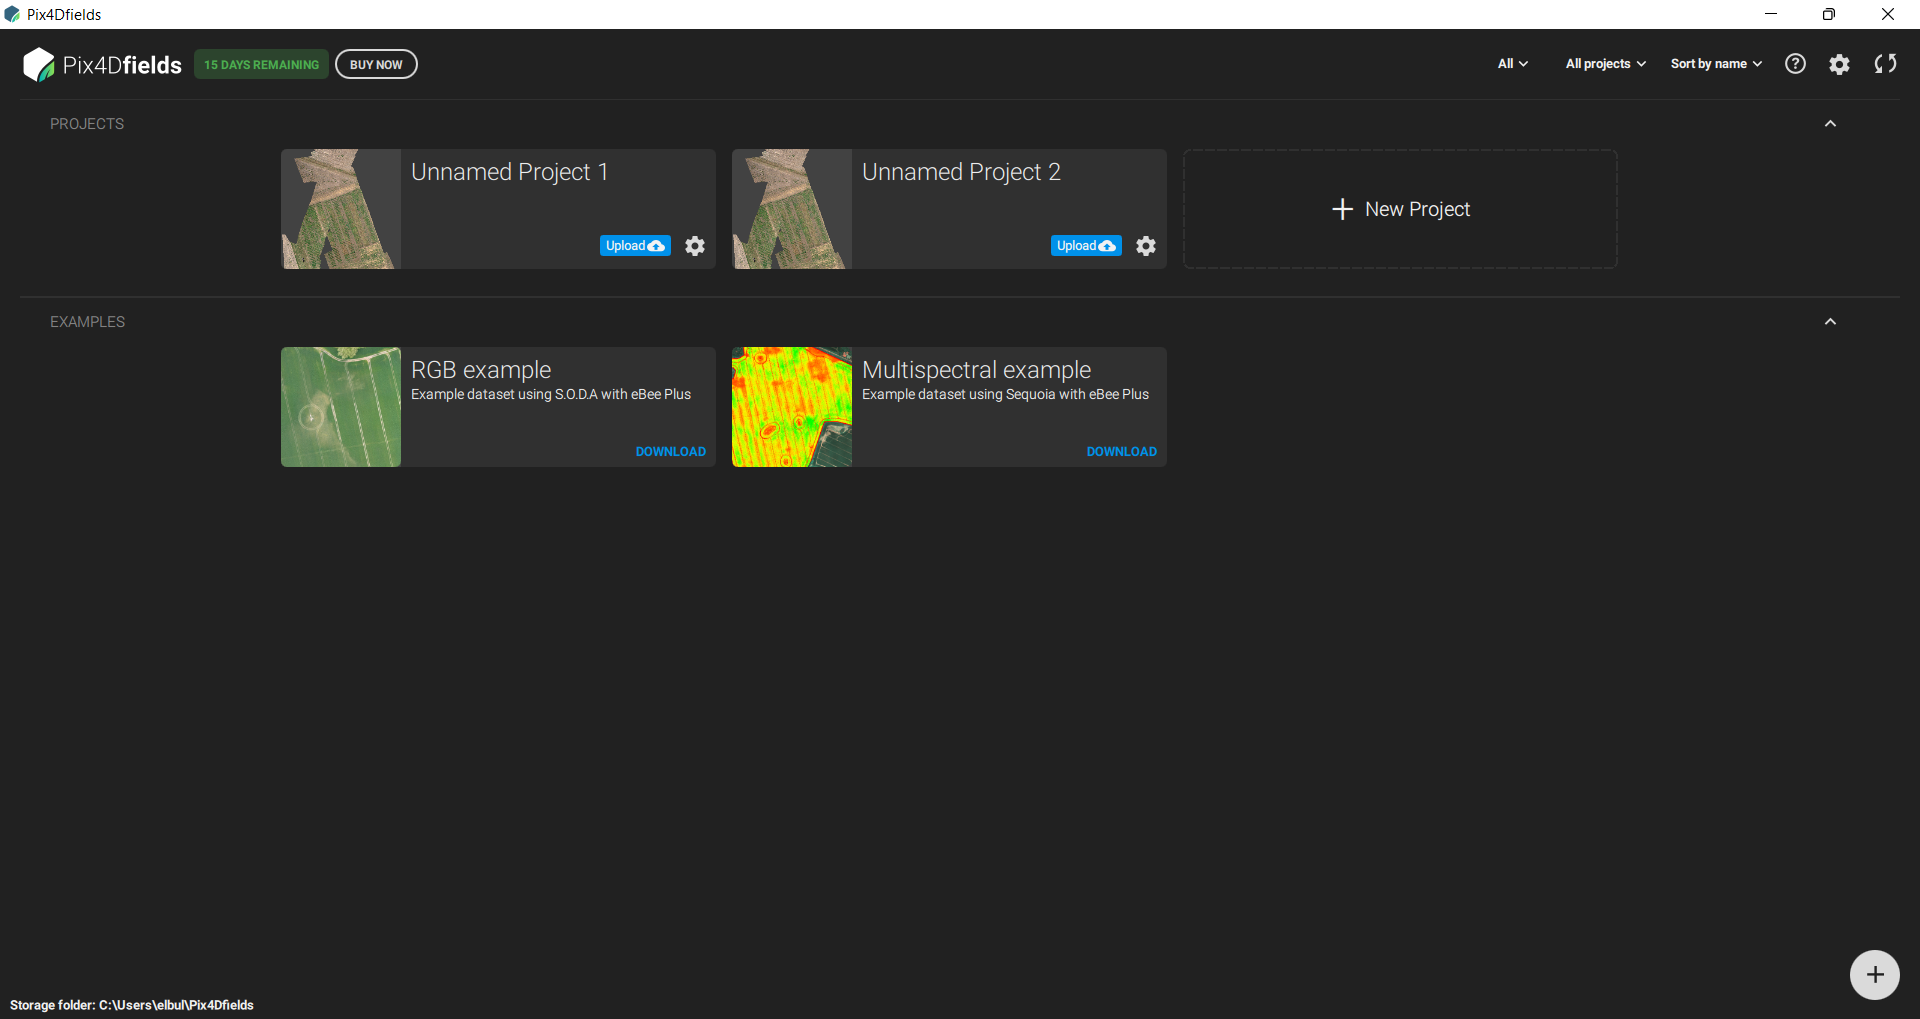
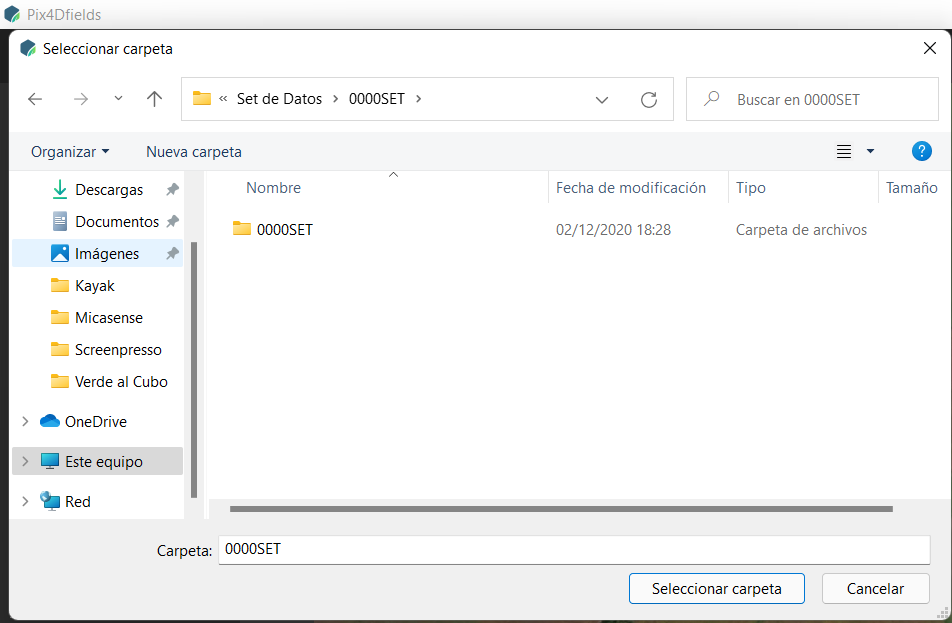
Step 2— Select images
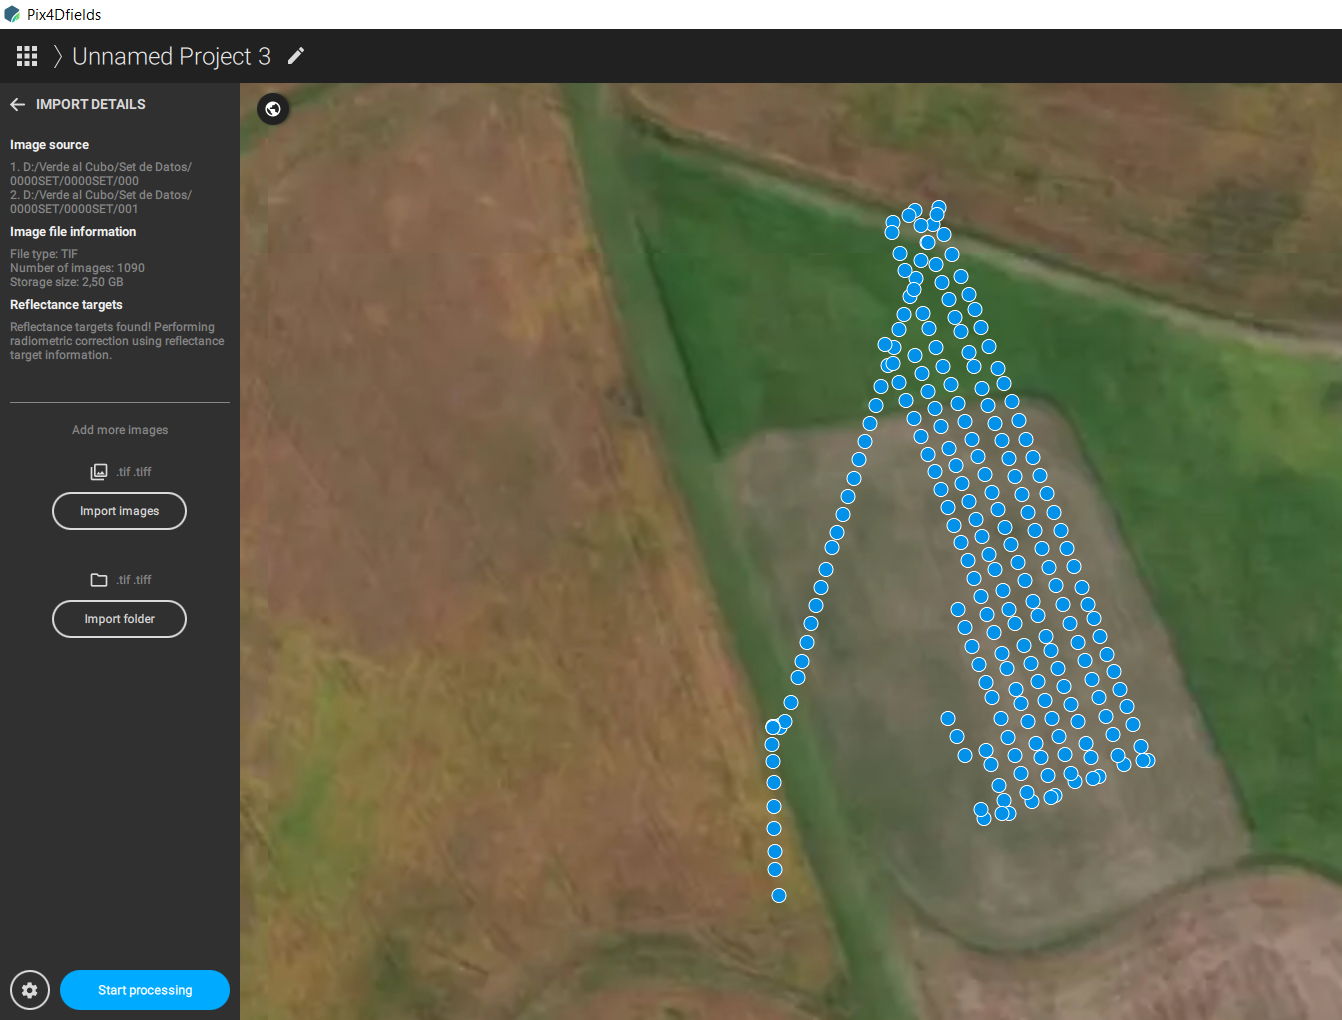
Click import images or import directories to add either specific images or all images inside one folder. You may incorporate images from multiple projects by adding them subsequently.

Step 3— Processing Options
In order to compare the information to other measuring tools, to satellite imagery, or even to compare through time, it is important that the images are calibrated radiometrically.
See this article to understand how to use the calibration panel.
For this select the Radiometric Calibration option and choose the weather condition:
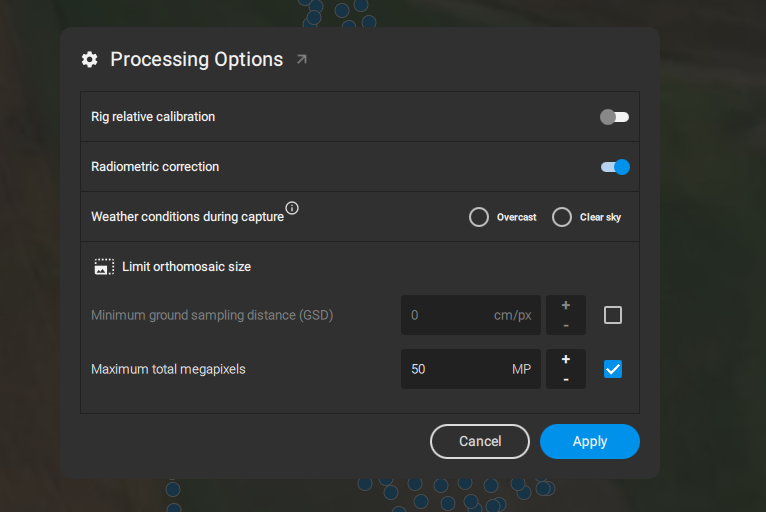
Radiometric correction
When importing the images, make sure to include the pictures of the calibration panel in order for the software to find those of the calibration panel.
For more information please read the article on Radiometric Correction.
Step 4— Start processing
Once all the images are selected and the processing options are the desired, start processing by clicking the button on the bottom left.
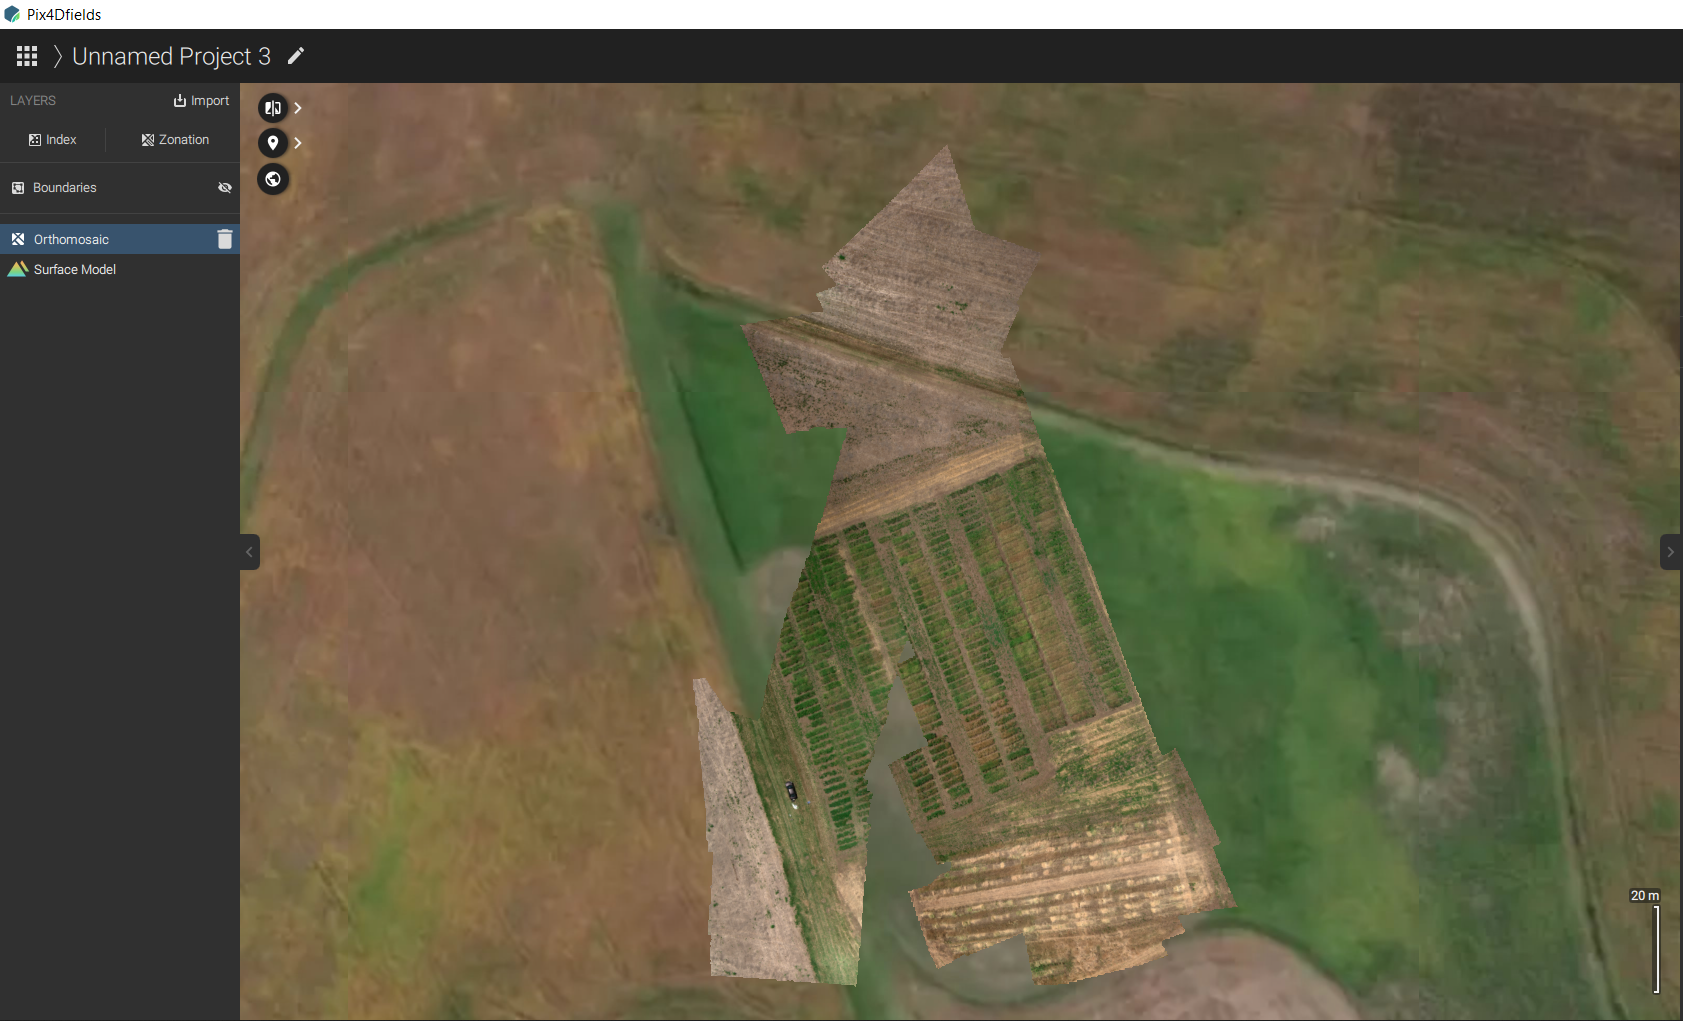
Step 5— Orthomosaic, DSM and Indices
Once the processing is done you can click on Orthomosaic (RGB image) to visualize, click on DSM (Digital Surface Model) to see the height differences or you can click on Index (Top left) and select the indices you'd like to create.
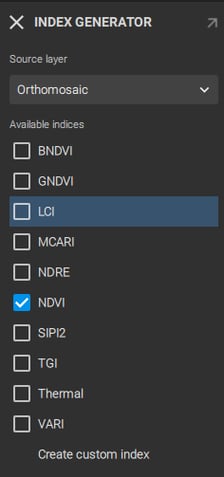
Step 6— Generating Indices
When creating Indices, you can choose from the most common ones (NDVI, NDRE, SIPI2, VARI) or you can create your own. When processing the Altum images you can also create the thermal map.
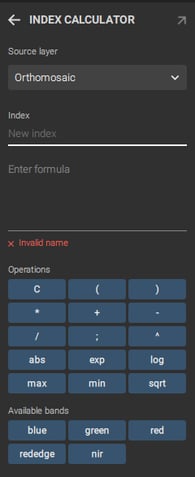
The Create custom index will direct you to a calculator where you can name your index and create your own formula.
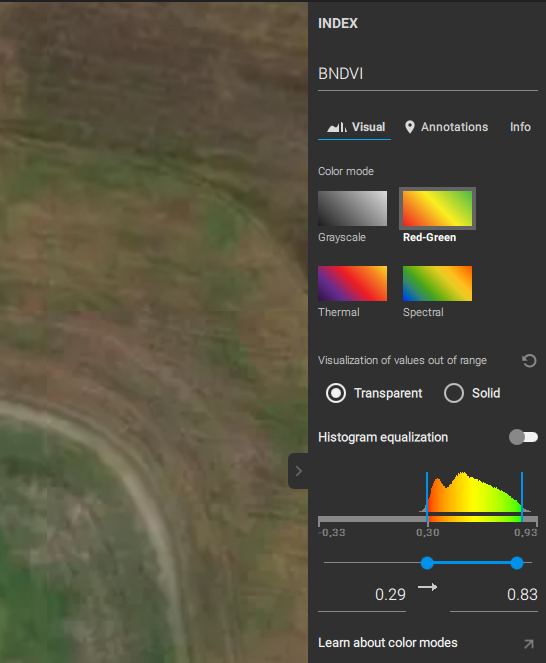
Step 7— Visualization
Once you create indices or choose the ones Pix4D Fields offer, you can view each one of them.
On the right, you will find a visualizer that will allow you to choose the color combination as well as the histogram so you visualize the information in the best possible way.
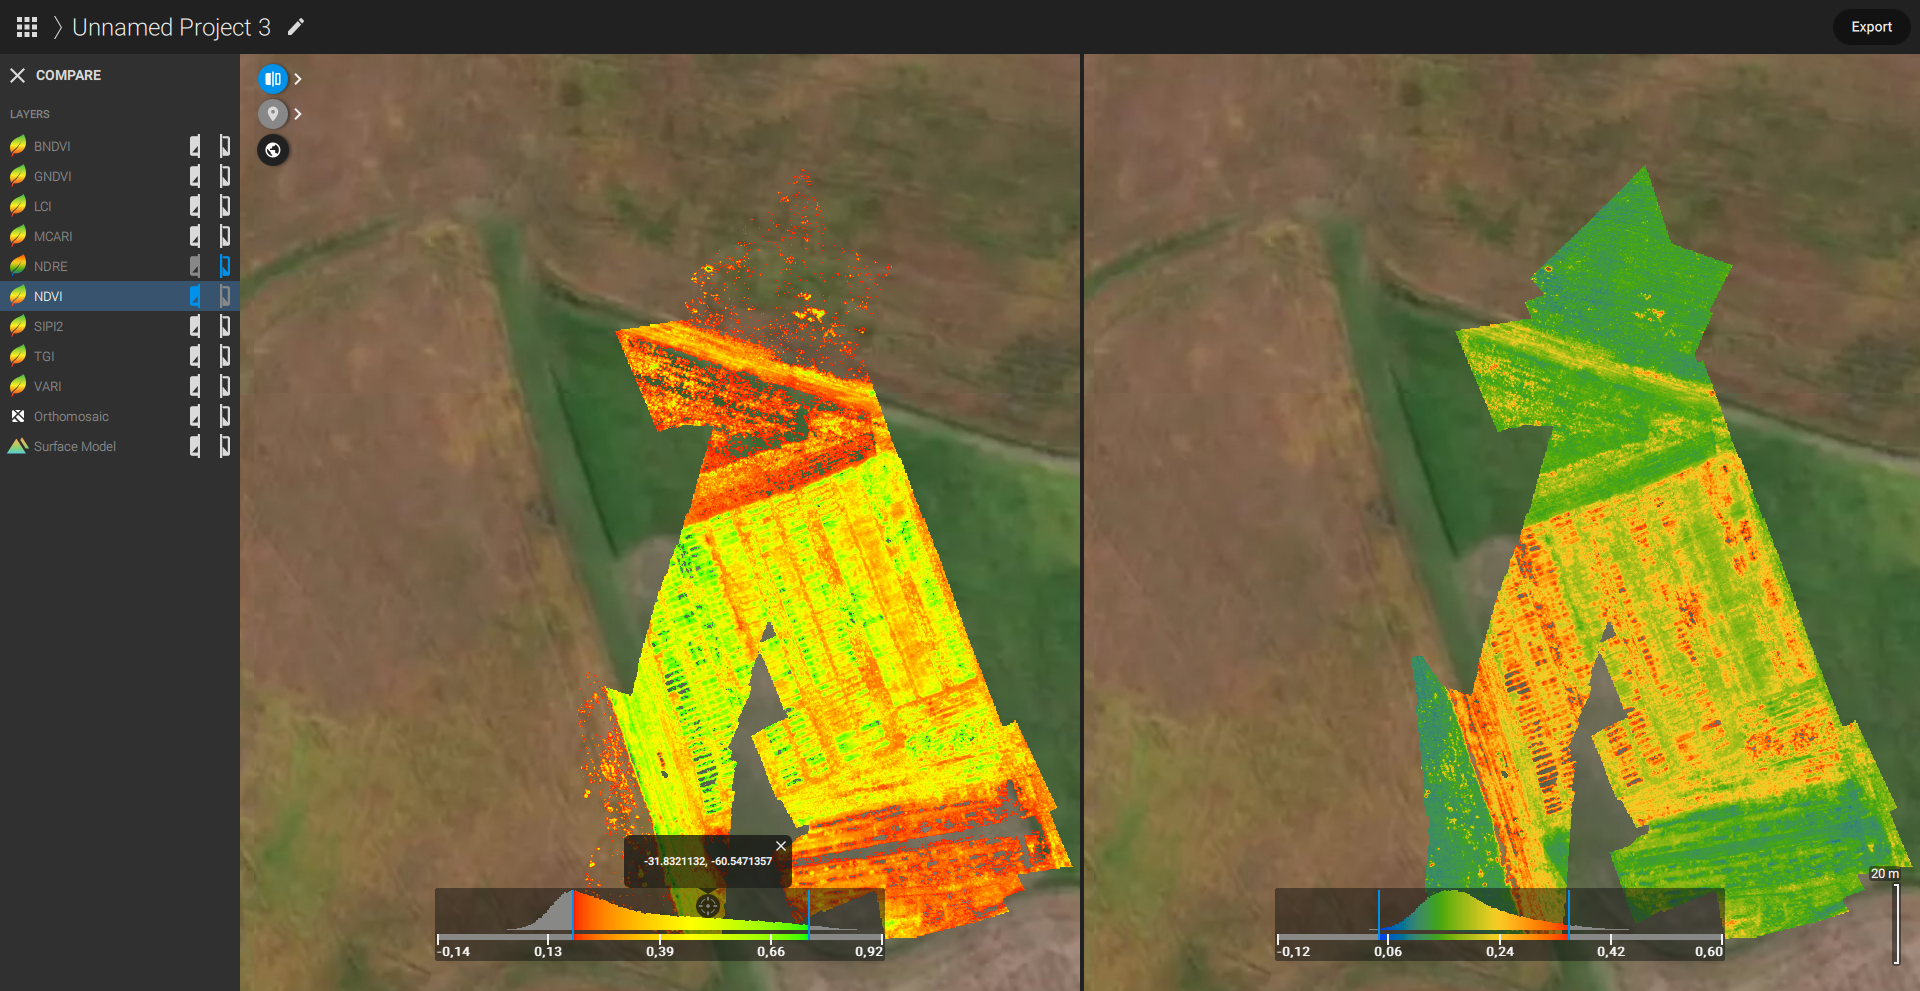
You can even choose to split the screen and visualize two layers at the same time to compare the information.
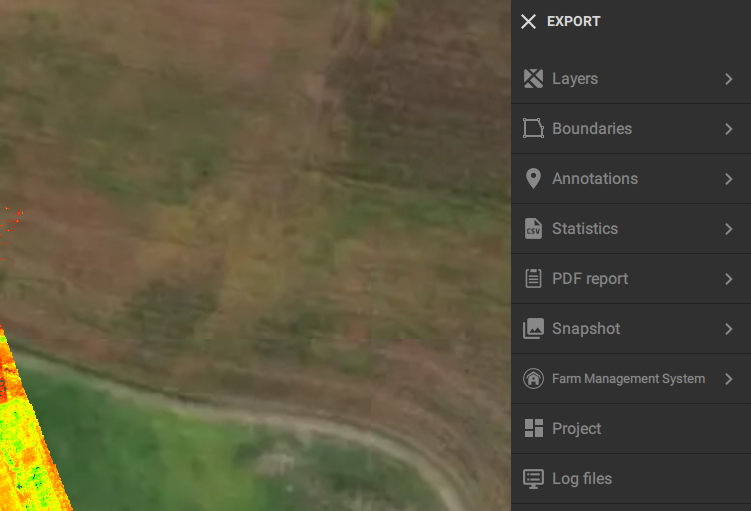
Step 8—Export
On the top Right you can export the maps in order to work with them in GIS softwares.
You can export Layers, Boundaries, Annotations, Statistics, a PDF Report and Snapshots