Skip to content
English
  • There are no suggestions because the search field is empty.

Install the RC receiver kit

Step-by-step instructions on how to install the RC receiver on WingtraOne GEN II drones.

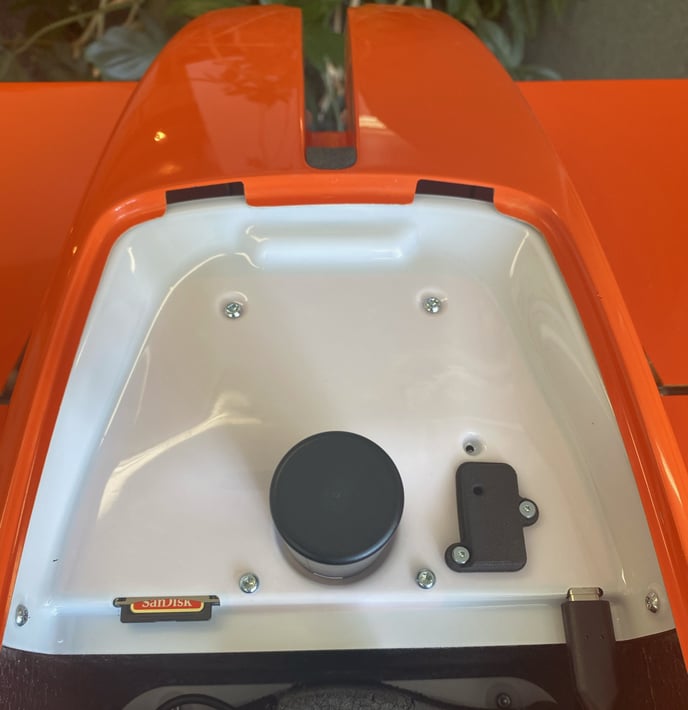
The RC receiver is integrated on the PPK cover on the WingtraOne GEN II drones that the PPK cover looks like in the picture below:

old design PPK

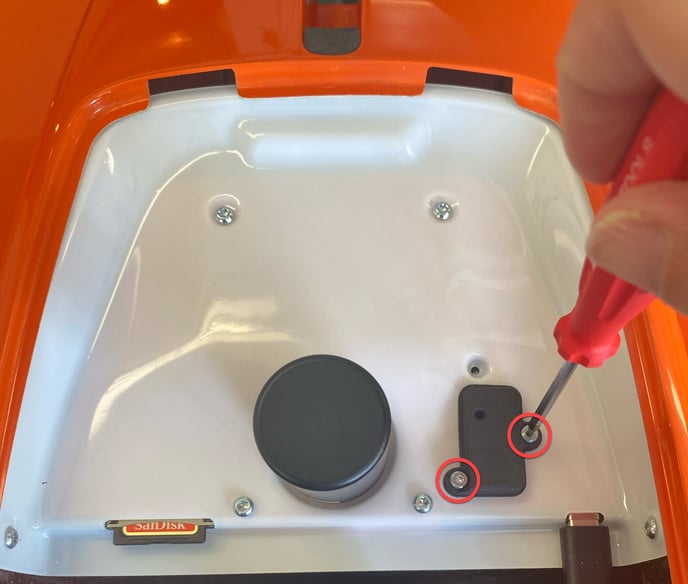
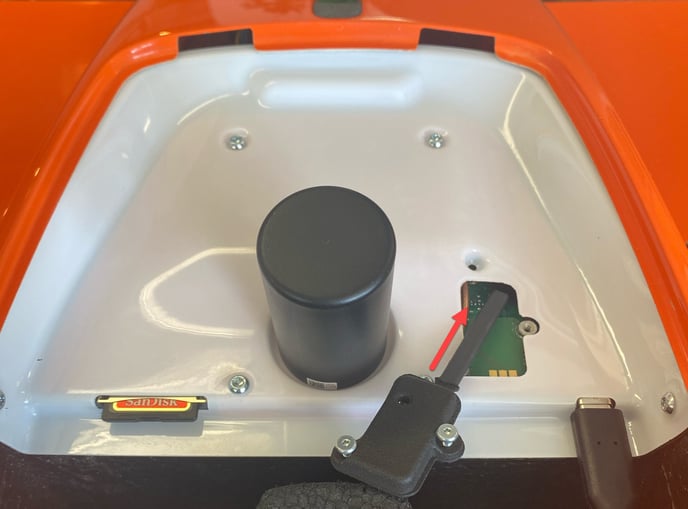
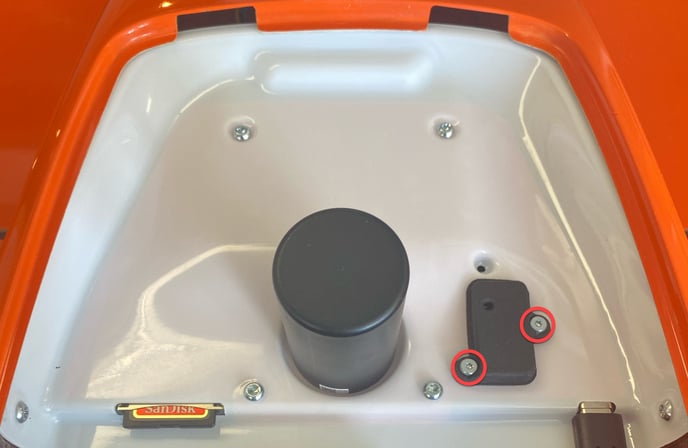
For WingtraOne GEN II drones with a different PPK cover design, the RC receiver should be installed on the PPK cover in case the RC functionality is needed.

The RC receiver kit contains the following items:

  • Remote Control (RC)
  • Torx T6 screwdriver
  • RC receiver with cover and screws

items

step1
  • Power off the WingtraOne and lay it down on a flat surface, e.g. table, with the nose pointing towards you.
  • Open the top cover.
step2-2
  • Unscrew the two screws (see them circled in red in the image) on the top of the dummy RC cover using the Torx T6 screwdriver.
  • Remove the dummy RC cover.

step3-4

  • Insert the RC receiver attached to the cover with the antenna pointing to the right top corner of the hole as shown in the image.
  • Push the antenna all the way in the hole so that the hole is covered.

step4-Nov-01-2021-02-21-40-09-PM

  • Screw the 2 screws (circled with red in the image) so that the RC receiver is fixed on the PPK cover.


After the RC received is installed, follow the instructions of the article How to rebind the remote control to bind the RC receiver to the transmitter.