| Time required | 30 min |
| Difficulty | Moderate |
|
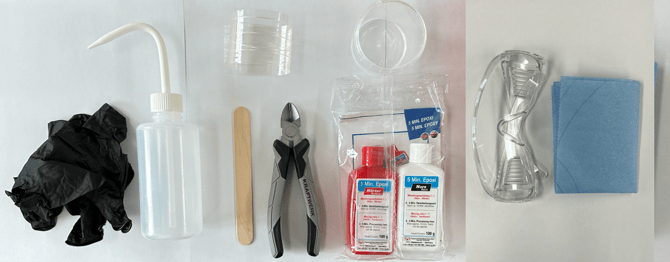
Equipment |
|
| Need help? | Reach out to your local Wingtra partner or contact us under support@wingtra.com |
General Safety and Inspection Notes
Certain materials specified may be toxic, it is important to use appropriate personal protective equipment e.g., gloves and safety glasses. Conduct the repair within a controlled, dedicated work environment.
After the repair it is important to conduct periodic inspections to spot any further damage.
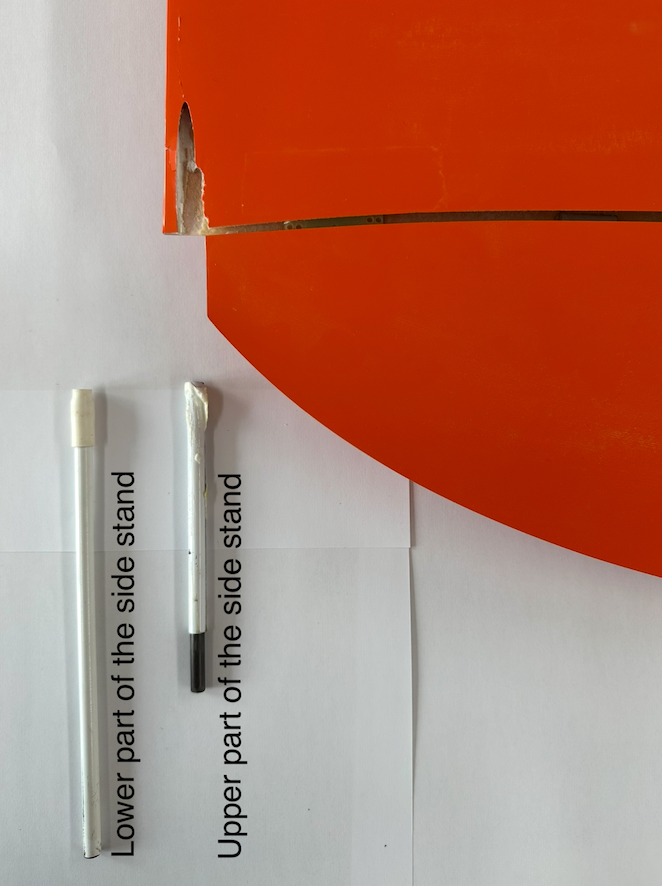
1. PreparationRemove the loose side stand from the airframe. Separate the lower part of the side stand from the upper part of the side stand which was glued in the airframe. |
 |
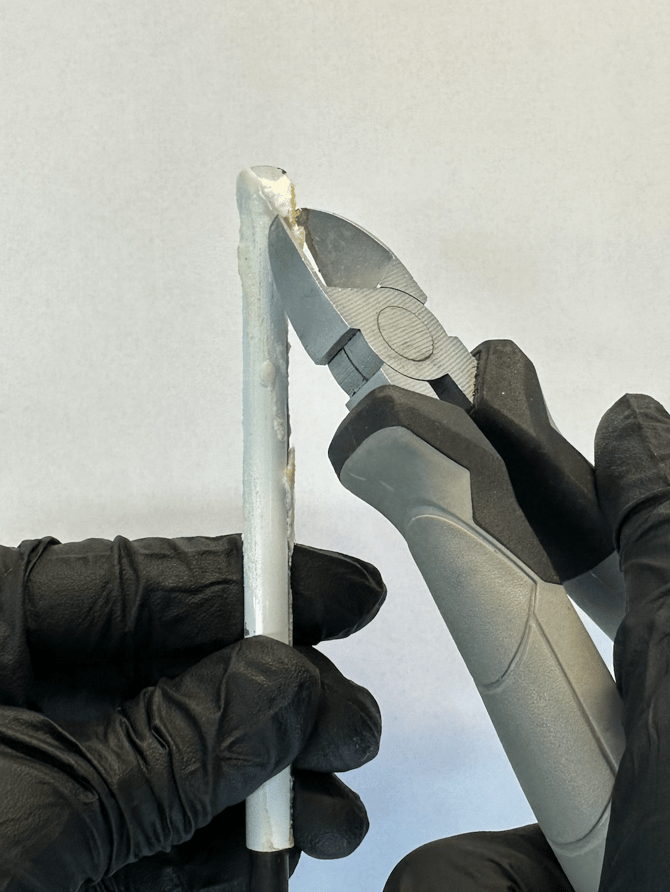
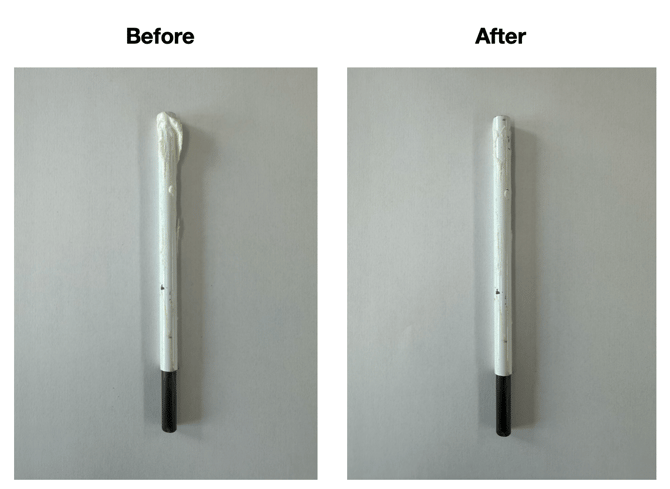
2. Removing excess materialUse the side cutter to remove any excess material from the side stand. |
  |
3. Test fitInsert the side stand into the recess of the airframe to verify a proper fit. |
 |
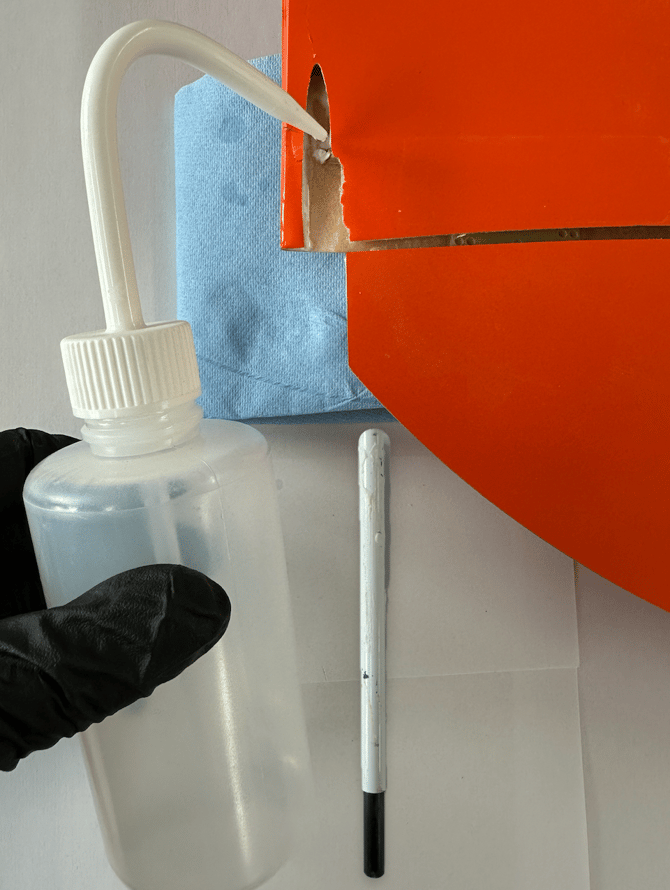
4. CleaningUse the isopropyl alcohol to clean the side stand and the recess in the airframe from any residues e.g., dust and oil. After cleaning make sure to let the cleaned areas dry out before proceeding with the glueing. |
 |
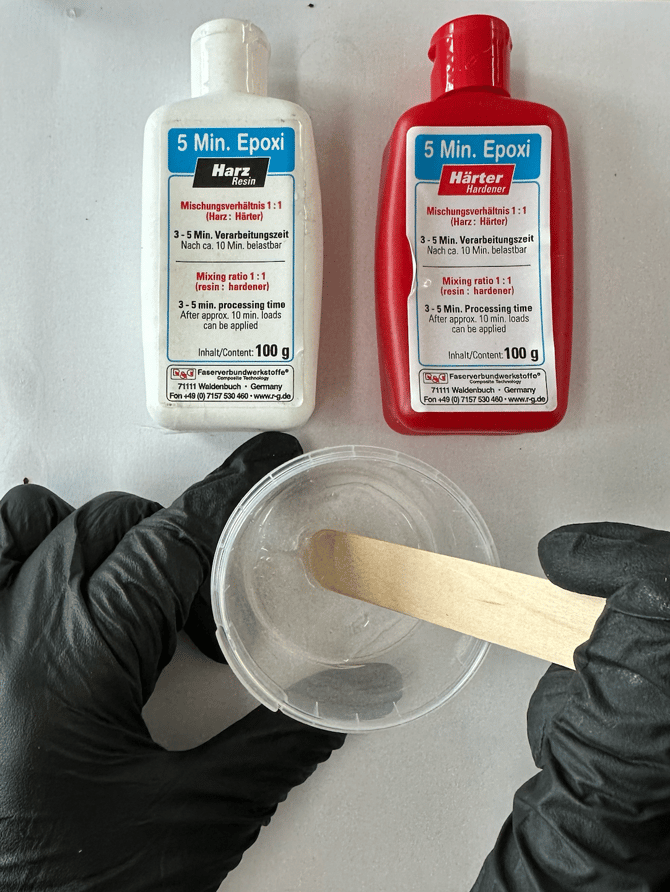
5. Mix epoxy resinUse the stirring cup and the wooden spatula to mix the two component epoxy resin. Follow the instructions of the used two component epoxy resin for the correct ratio. |
 |
6. Add epoxy resinFill the recess in the airframe with the two component epoxy resin. For a strong bound it is suggested to use a rather large amount of two component epoxy resin. |
 |
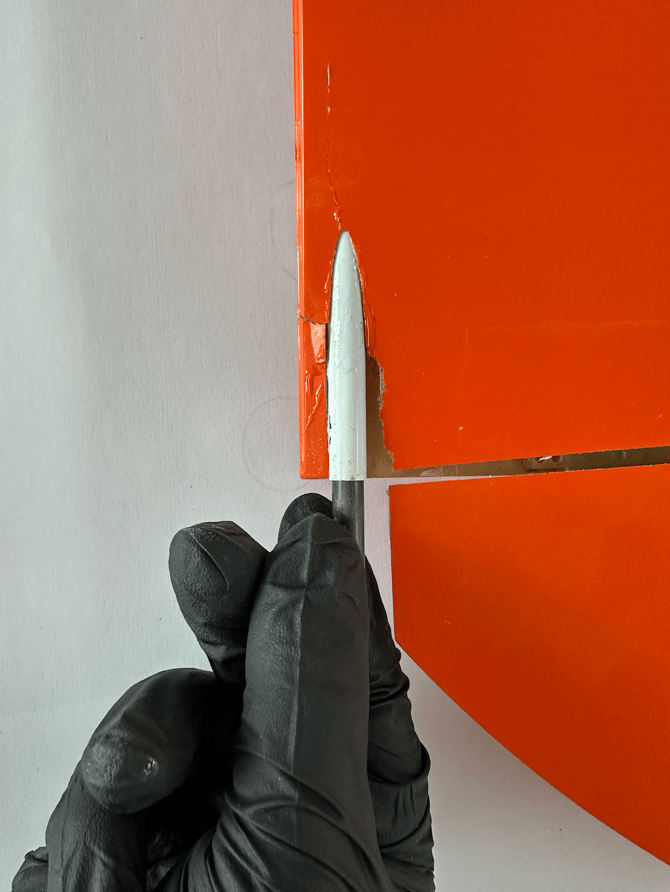
7. Insert side standInsert the side stand into the recess in the airframe and slowly push the side stand in a rotating movement until it reaches the shown position. |
 |
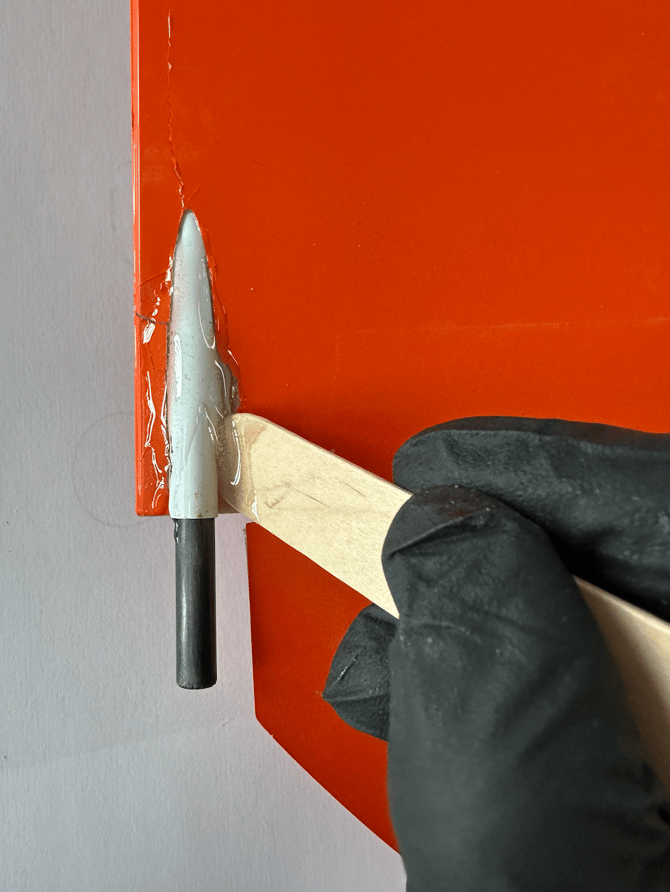
8. Cover the side standAdd two component epoxy resin to the visible part of the side stand and the surrounding area of the airframe. If needed, cover cracks with the two component epoxy resin. |
 |
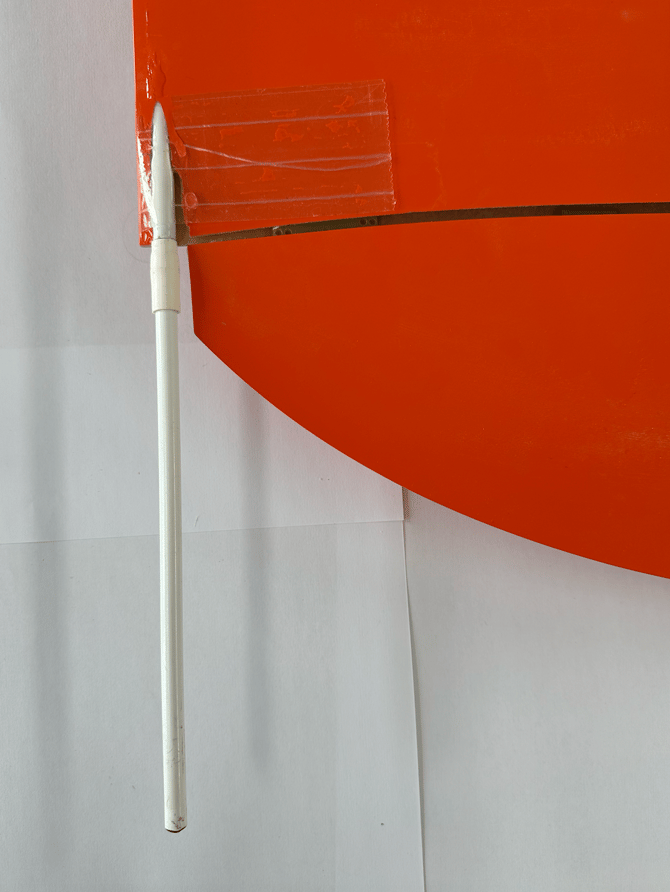
9. Reinforcement & finishingAfter the two component epoxy resin has cured, add reinforcement tape on the repaired area. Mount the lower part of the side stand by pushing it on the glued upper part of the side stand. |
 |