Skip to content
English
  • There are no suggestions because the search field is empty.

How to move the RX1 camera to a GEN II mount

Find in this article the step-by-step instructions on how to remove an RX1 camera from a WingtraOne GEN I RX1 mount and insert it in a WingtraOne GEN II compatible mount.

Step-by-step instructions

Step 1 Remove the RX1RII camera attached to the mount from WingtraOne
rebind2
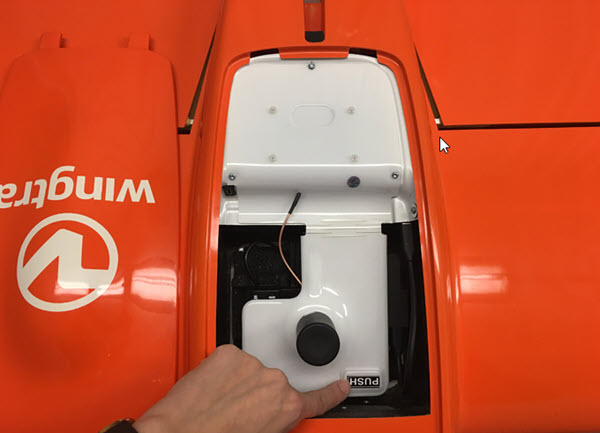
  • Power off the WingtraOne and lay it down on a flat surface with the nose pointing to you, e.g. table.
  • Open the top cover.
  • If applicable: Open the PPK cover pressing the PUSH button.
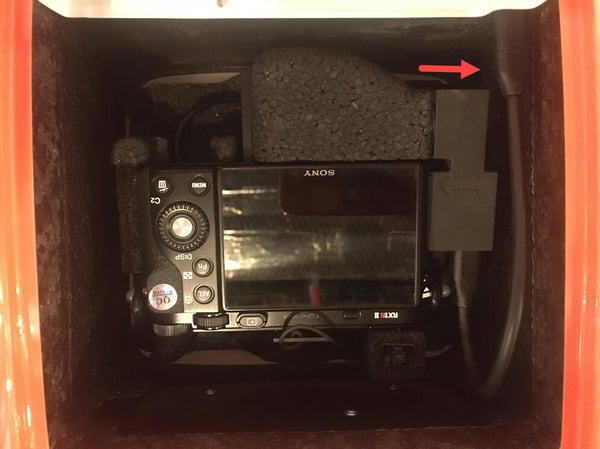
Unplug USBc
  • Unplug the USB-C universal payload connector by pulling the cable out.
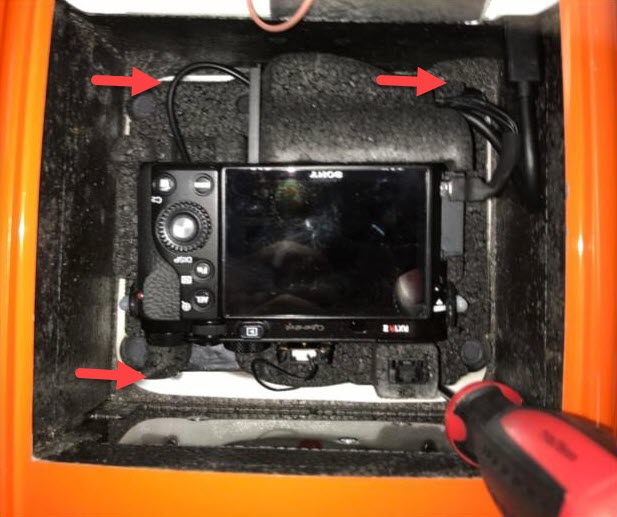
step8-3
  • Use the Torx screwdriver to open the four screws in each corner of the payload area.
  • Pull out the camera mount assembly.
💡 The screws are attached to the camera mount. You do not need to worry about losing them inside.


Step 2 Remove the RX1RII from the mount
RX1 camera_1
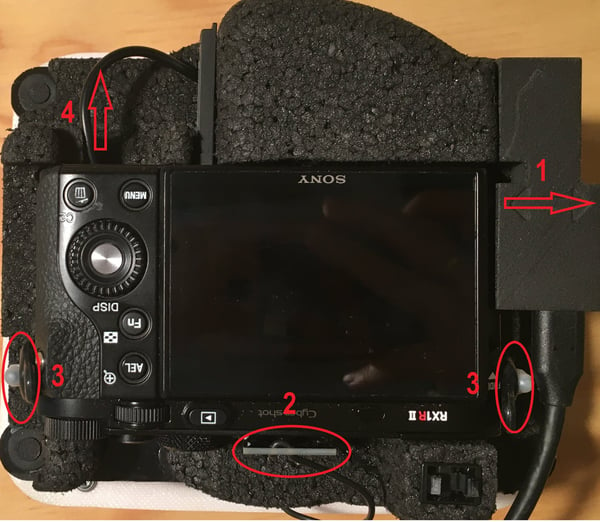
  • Unplug the connectors from the camera as follows:
    1. Multiport RX1R II connector
    2. Hotshoe
    3. Camera retainer rubberband (2x)
    4. Lift the camera and remove the dummy battery.
  • Lift the camera out of the mount.

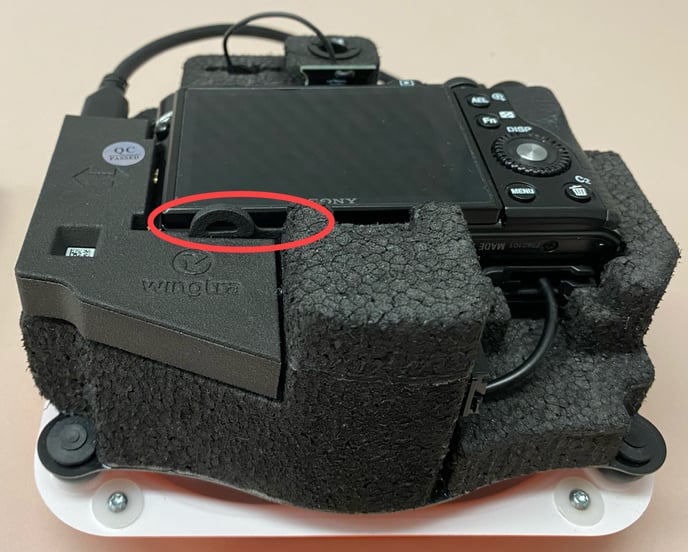
Step 3 Insert the CCU clip in the RX1 camera

The CCU clip is shipped together with the GEN II RX1 mount and it should be placed in the camera before it is inserted into the mount. 
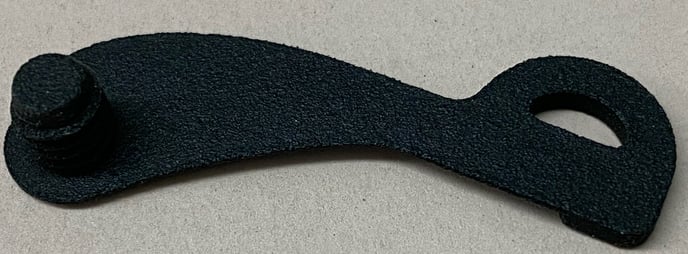
CCU clip
  • Take the CCU clip
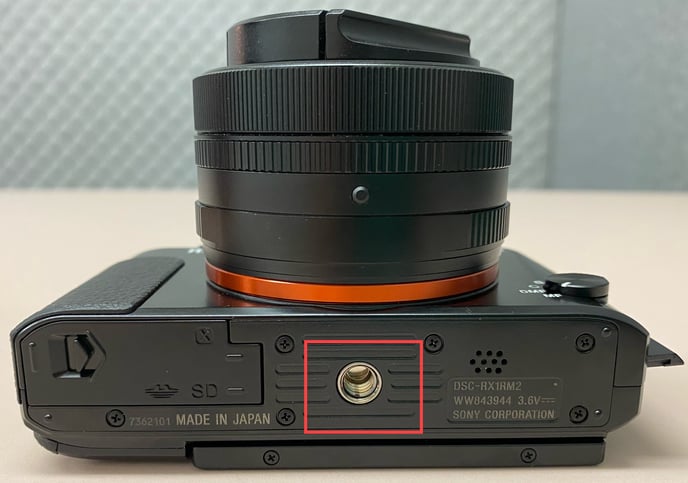
CCU hole
  • Locate the hole where it will be inserted into the RX1 camera next to the battery compartment
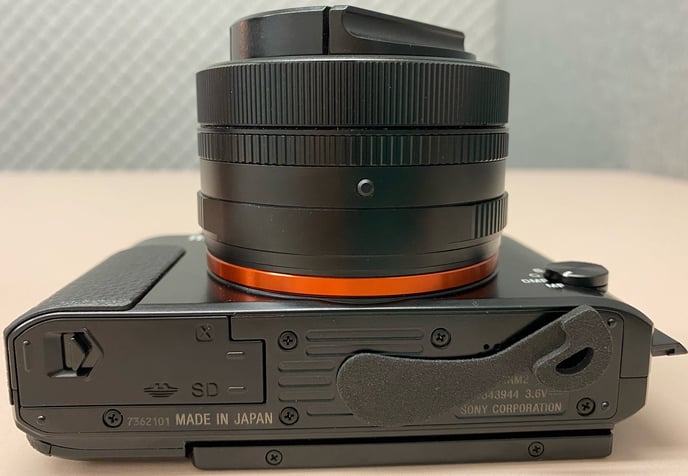
CCU clip inserted
  • Screw the CCU clip in the hole. Do not tighten too strong the clip. It needs to be loose so that it locks at the correct side.

Step 4 Place the RX1RII into the GEN II mount
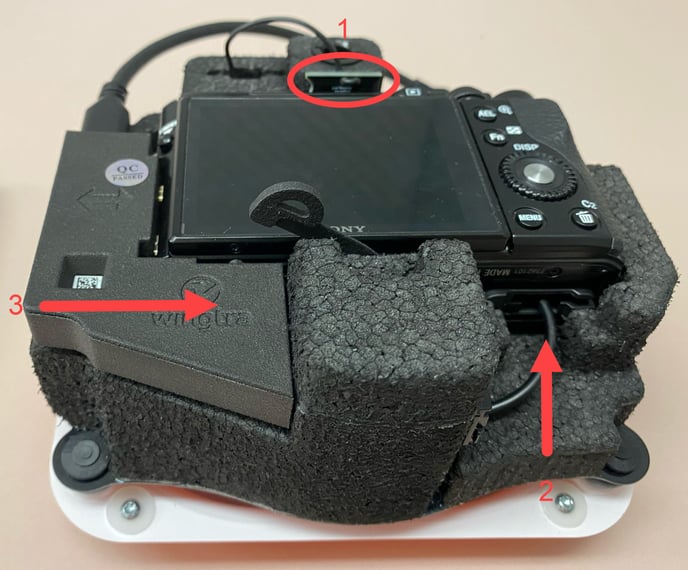
plug RX1 connectors 2
  • Plug the connectors as follows:
    1. plug the dummy battery (2) before moving the camera into the mount
    2. place the RX1RII camera into the mount
    3. plug the following connectors:  hotshoe (1) and multiport RX1R II connector (3)
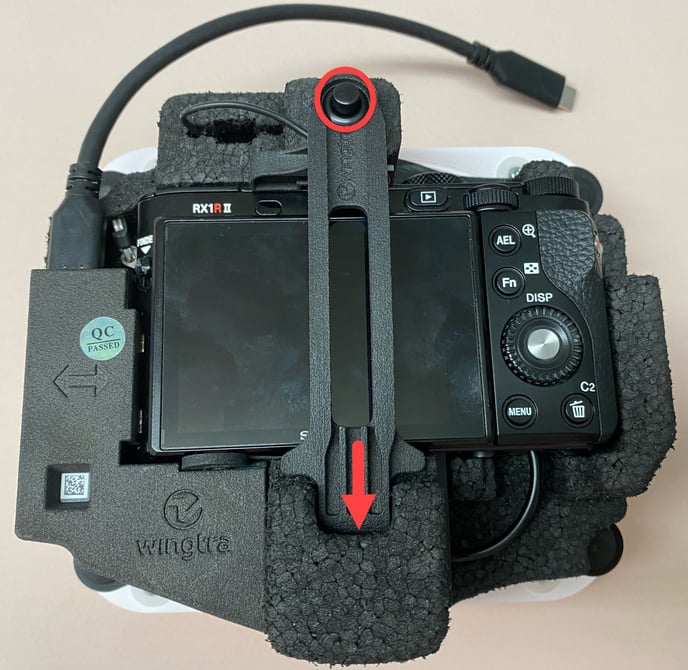
CCU clip closed
  • Close the CCU clip as you can see in the picture
holder placed
  • Insert and close the camera holder beam by pressing on the button till it clicks.

Step 5 Place the RX1RII attached to the new mount into WingtraOne GEN II

  • Use the Torx screwdriver to tighten the four screws in the four corners of the payload area. Do not overtighten the screws as this can lead to damaging the cover (maximum torque 0.4 Nm - use two fingers tightness).
  • Plug the USB-C universal payload connector into the drone.
  • Close the top cover.
  • Do a test flight.

Before the flight, double-check that all the cables are connected firmly.