Overview
When your survey area is already defined as a KML, GeoJSON, or DXF file, you can import it directly into WingtraCLOUD and convert its layers to flight areas, geobarriers, or corridors — without redrawing shapes manually. For flight areas, you can apply a positive offset to expand the coverage boundary and ensure no part of the original polygon is missed in the imagery.
Before you begin
Prerequisites
- Prepare your file in
.kml,.geojson, or.dxfformat. - Open a Site, Flight, or Map in the WingtraCLOUD world viewer. Layer files can only be imported from the world viewer.
- To convert an imported layer, first open or create a plan in WingtraCLOUD.
Import a layer file
|
1
|
Import your file using one of the following methods:
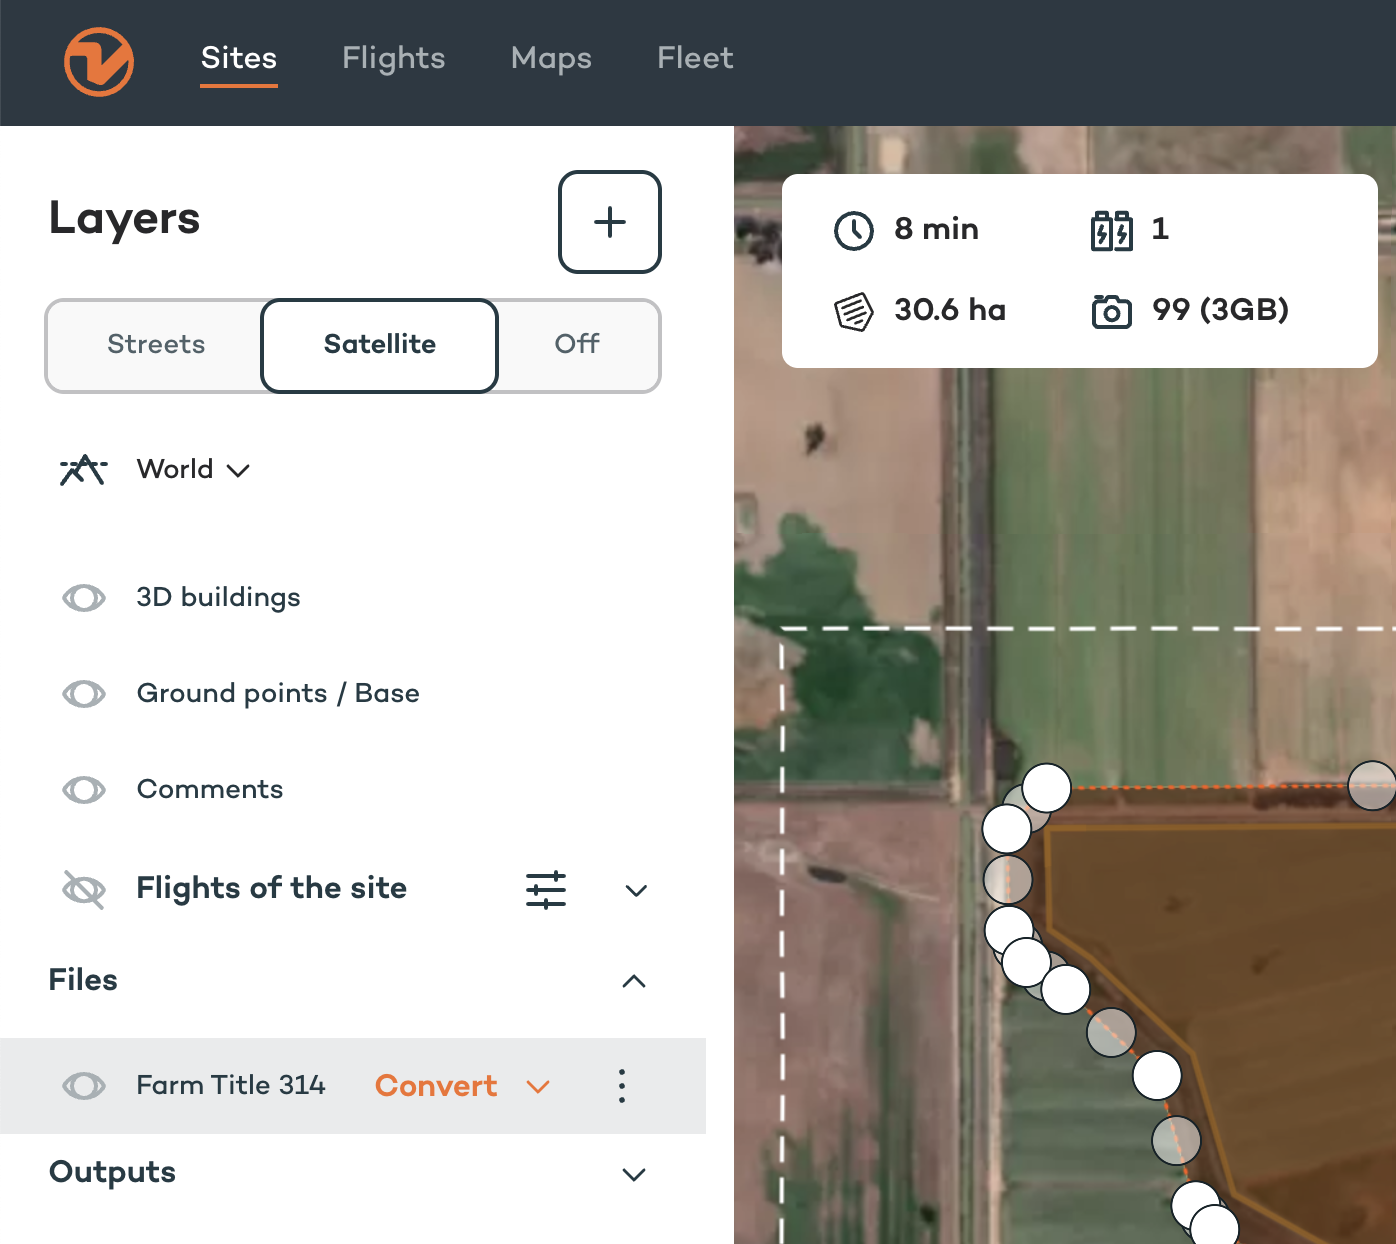
The file loads and its layers appear in the Layers panel.
|
|
2
|
Review the imported layers in the panel. Each shape in your file appears as a separate layer entry.
Note: WingtraCLOUD reads only the geometry relevant to each conversion type. Polygons are used for Area and Geobarrier conversions; lines are used for Corridor conversions. Other geometry types in the file are ignored.
|
Convert layers to a flight area
|
3
|
Click the Convert dropdown on the layer.
A menu appears with three options: Area, Corridor, and Geobarrier.
|
|
4
|
Select Area. |
|
5
|
Select the layers you want to include. You can select up to five layers per operation.
Note: If your file contains more than five layers, repeat the import and conversion steps to add the remaining layers to your mission.
|
|
6
|
Set an Offset value if required. Type a number directly or use the + and − buttons to adjust incrementally.
|
|
7
|
Click Confirm.
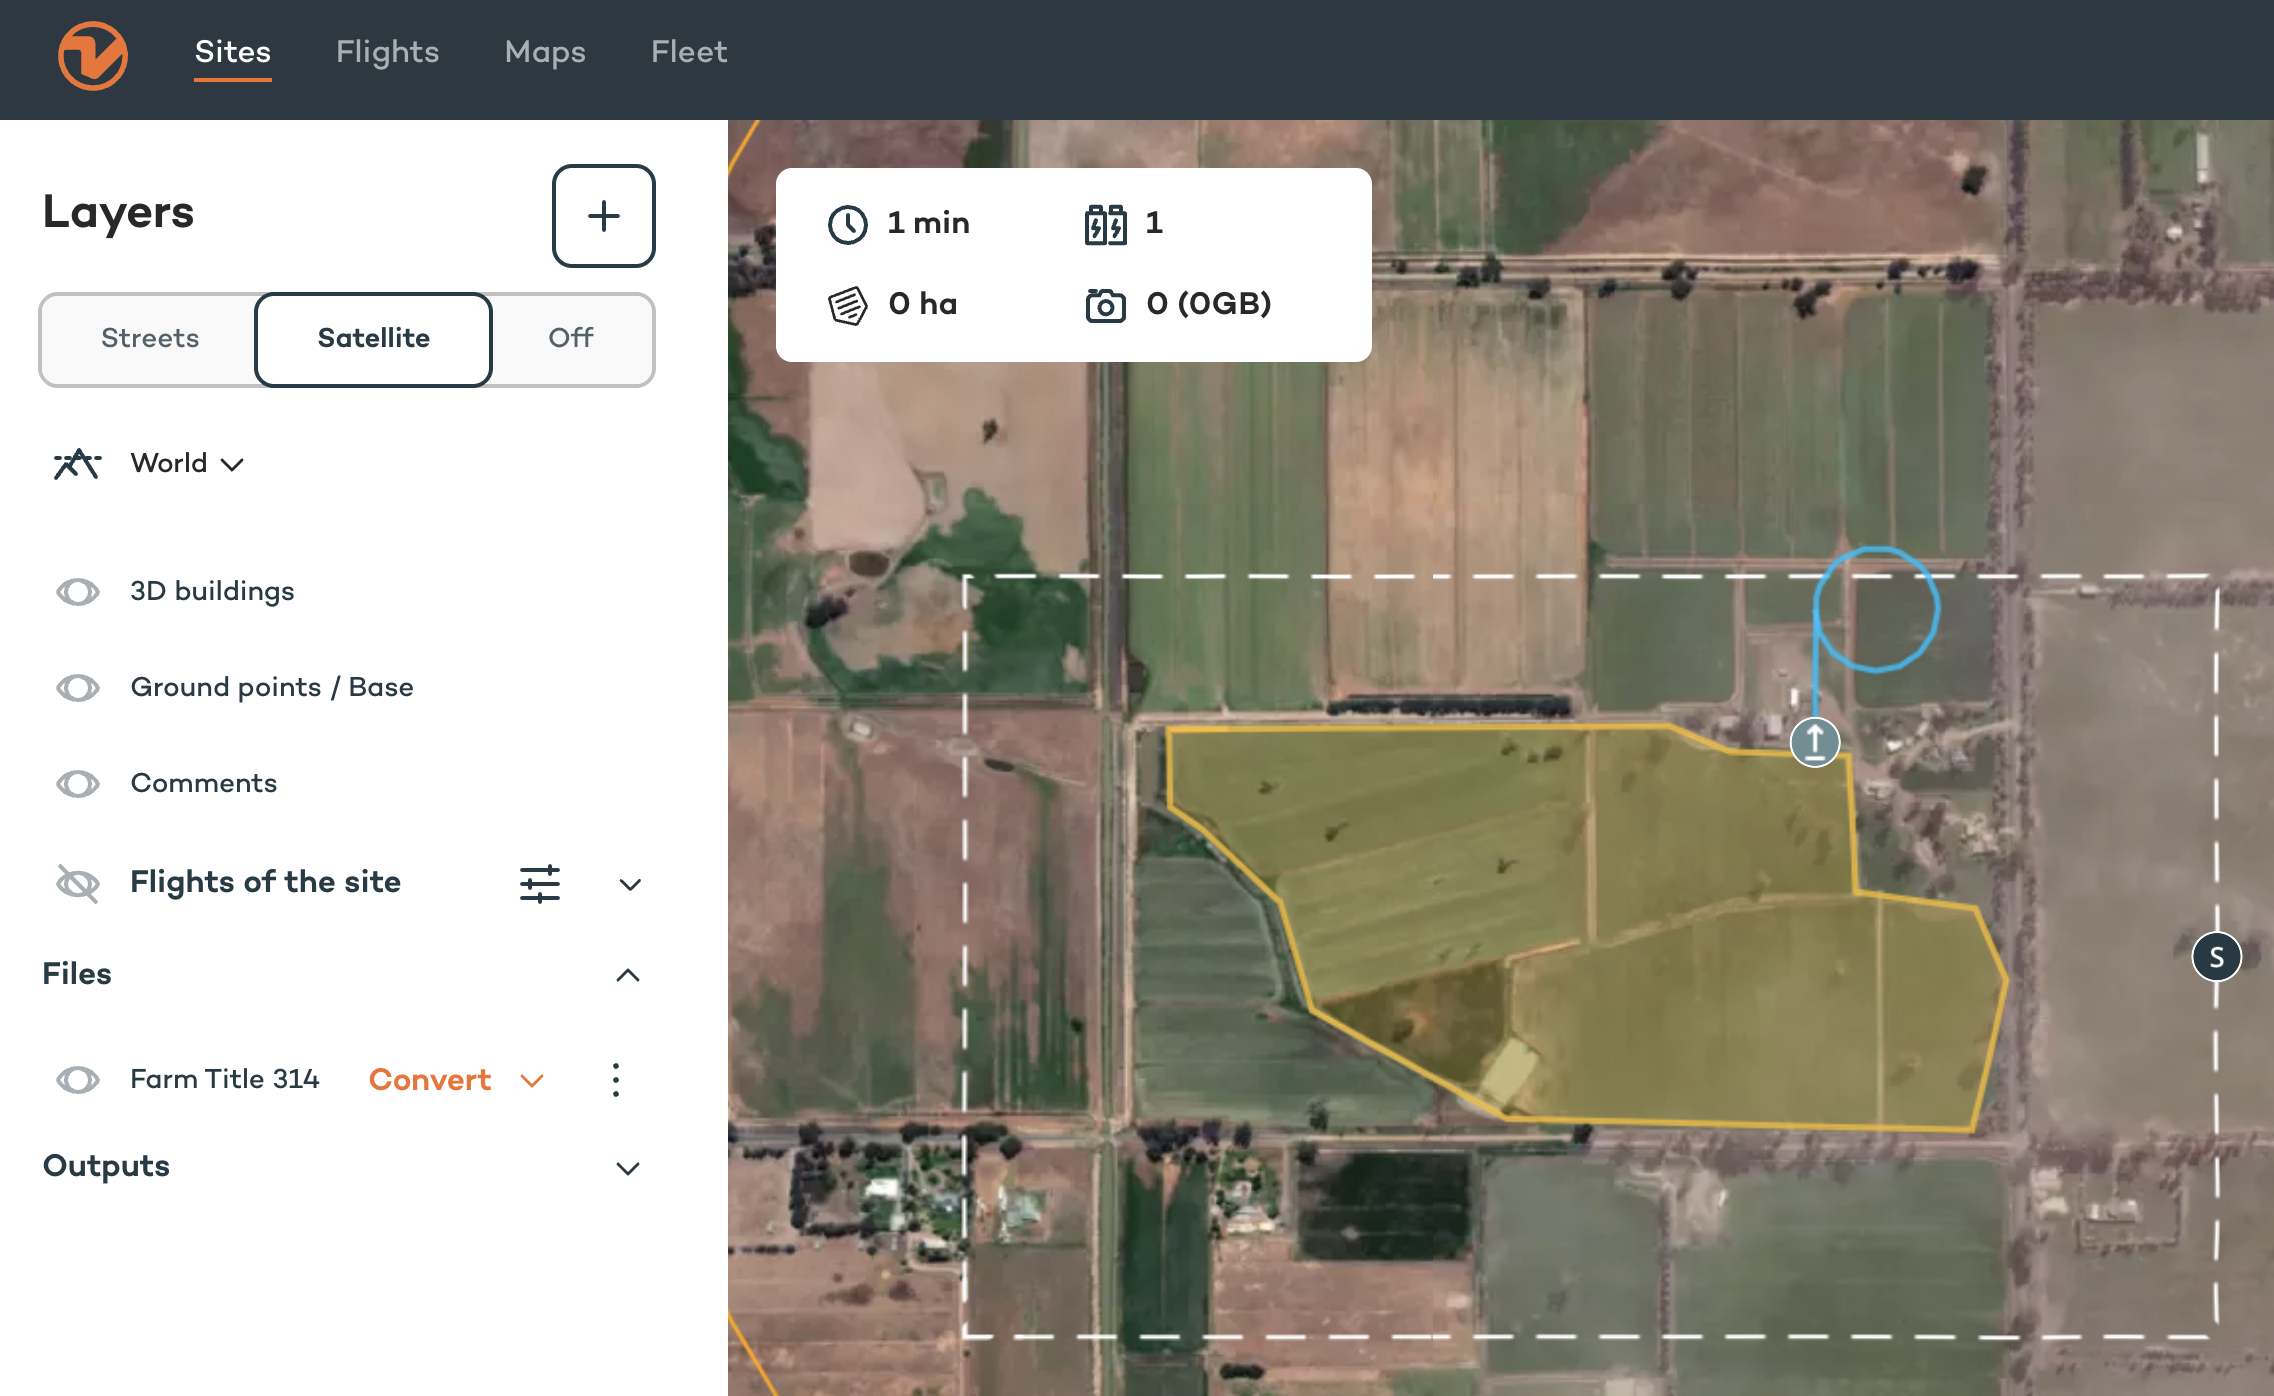
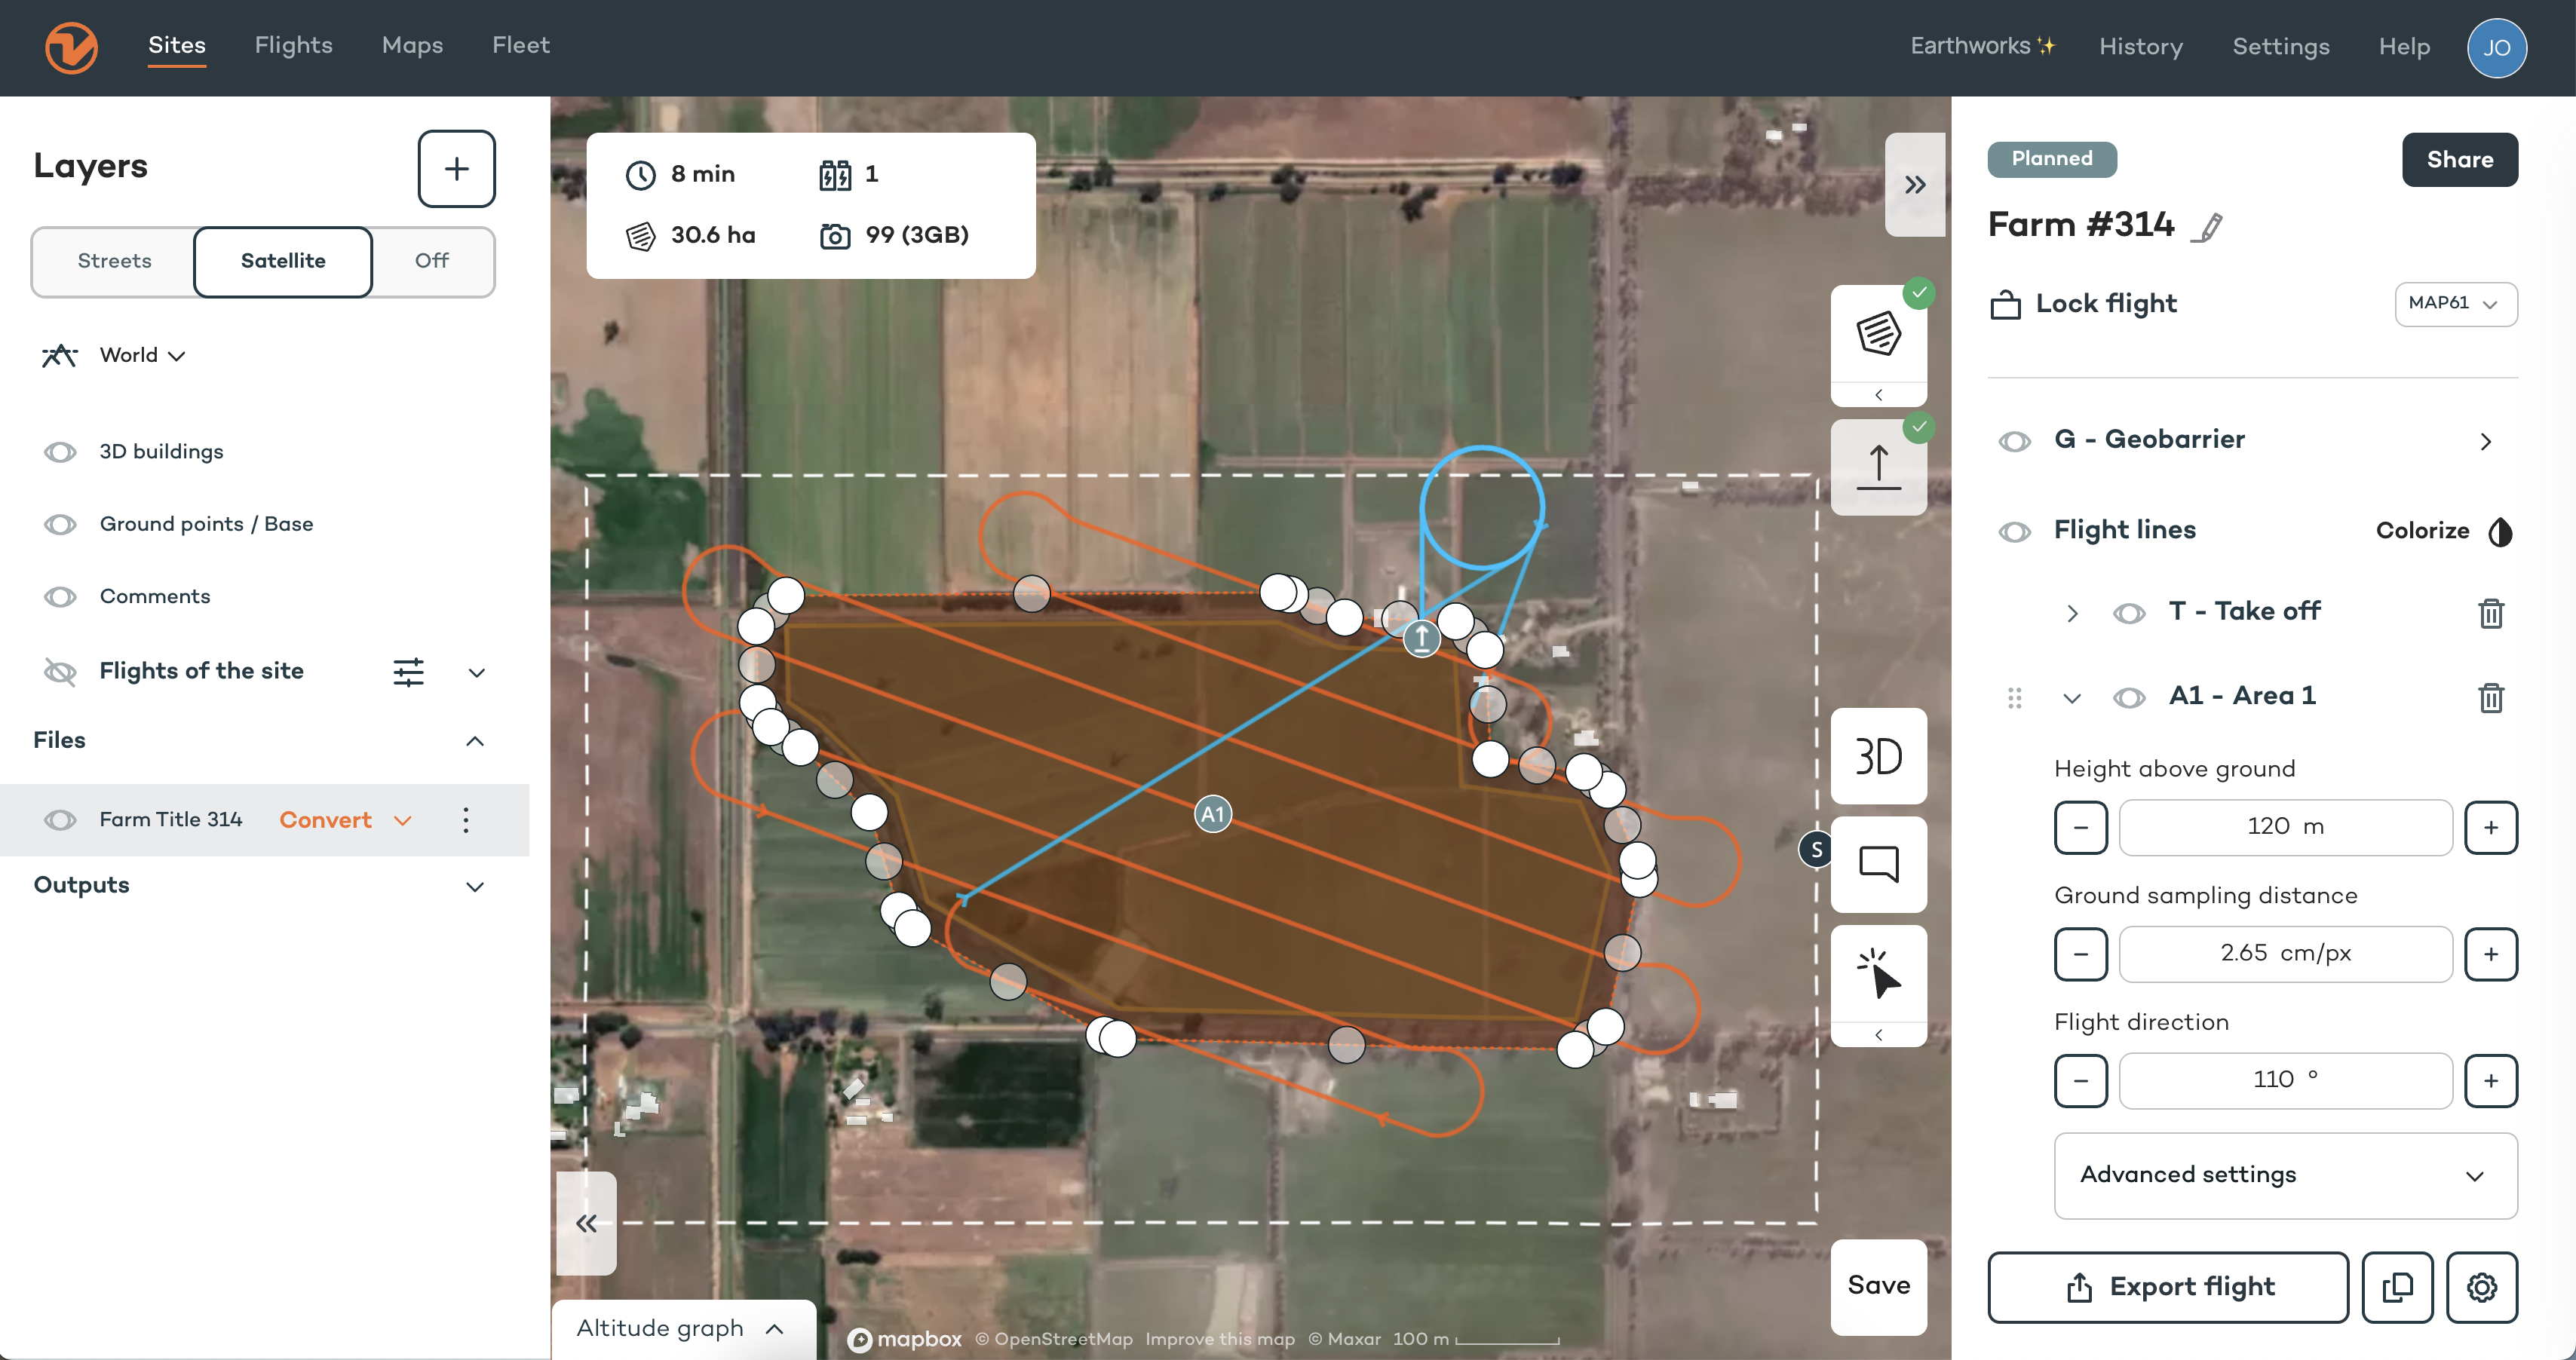
The selected layers appear as flight areas on the map, adjusted by the offset value.
|
Convert layers to a geobarrier or corridor
|
8
|
Click the Convert dropdown on the layer. |
|
9
|
Select Geobarrier or Corridor. |
|
10
|
Select the layers to convert.
|
|
11
|
Click Confirm.
The selected layers appear as a geobarrier or corridor on the map.
|
What's next